
Last updated November 2, 2026
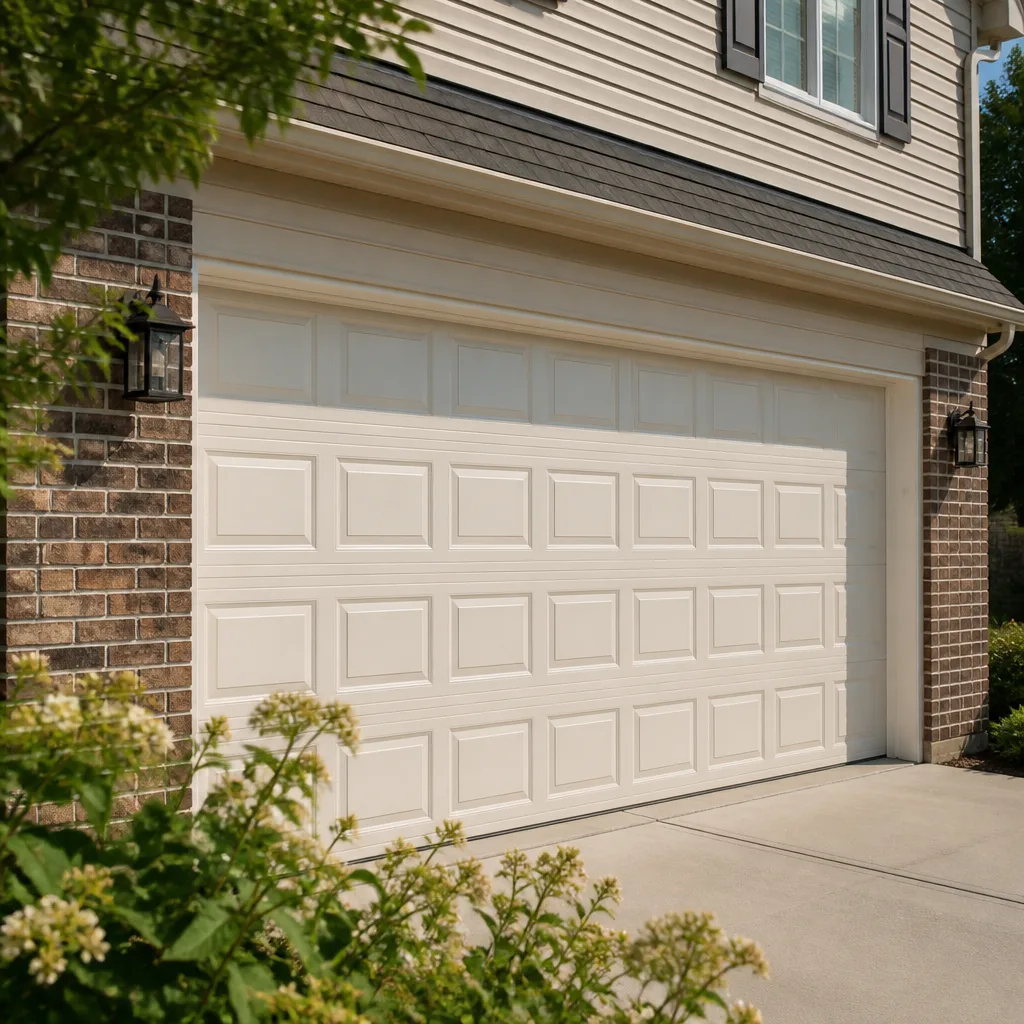 Raised-panel steel
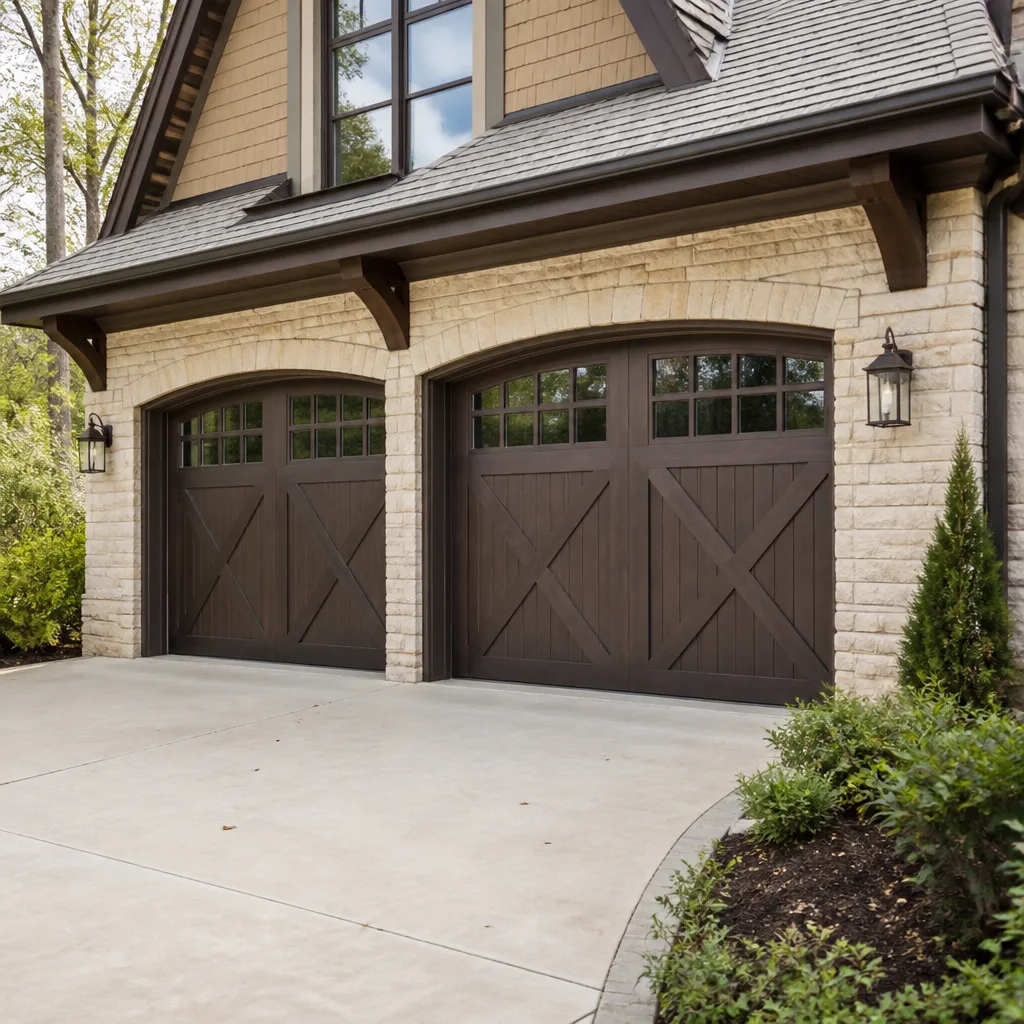 Carriage house
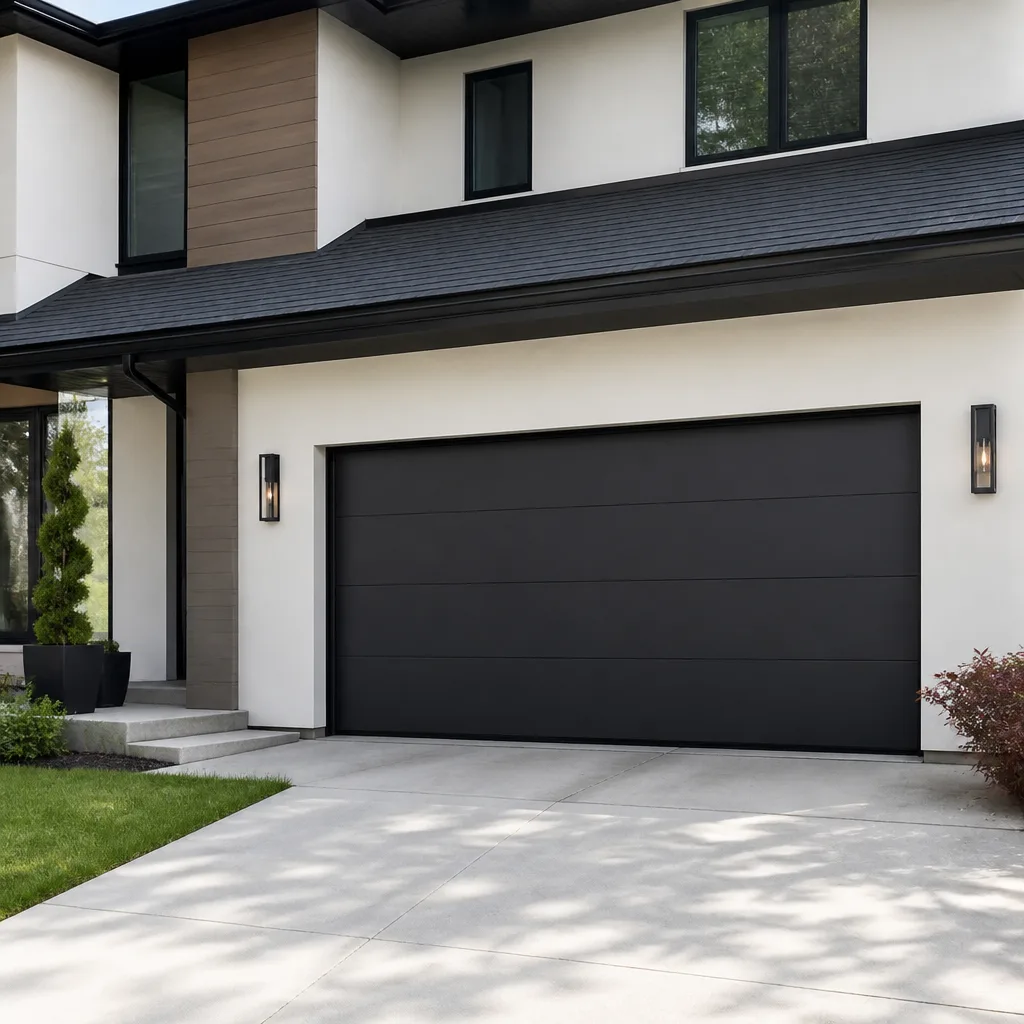 Modern flush
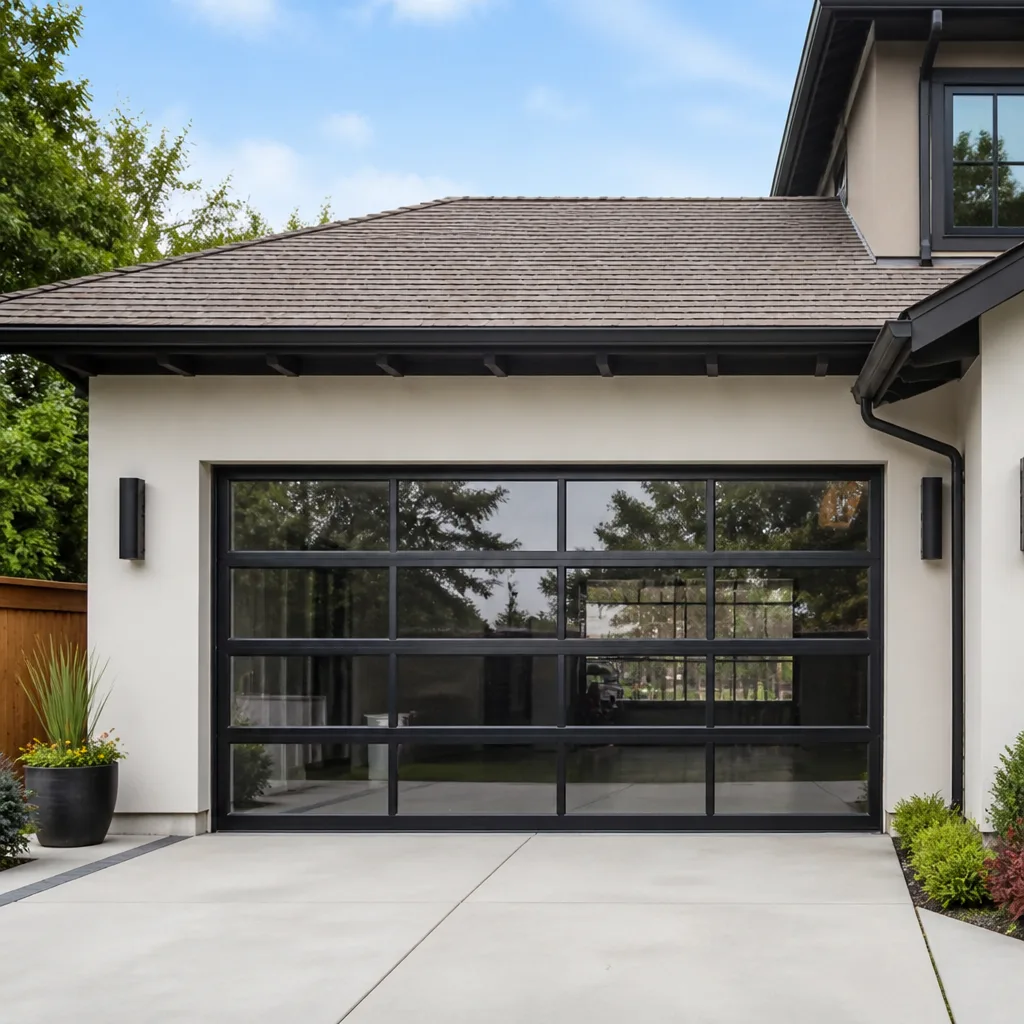 Full-view glass
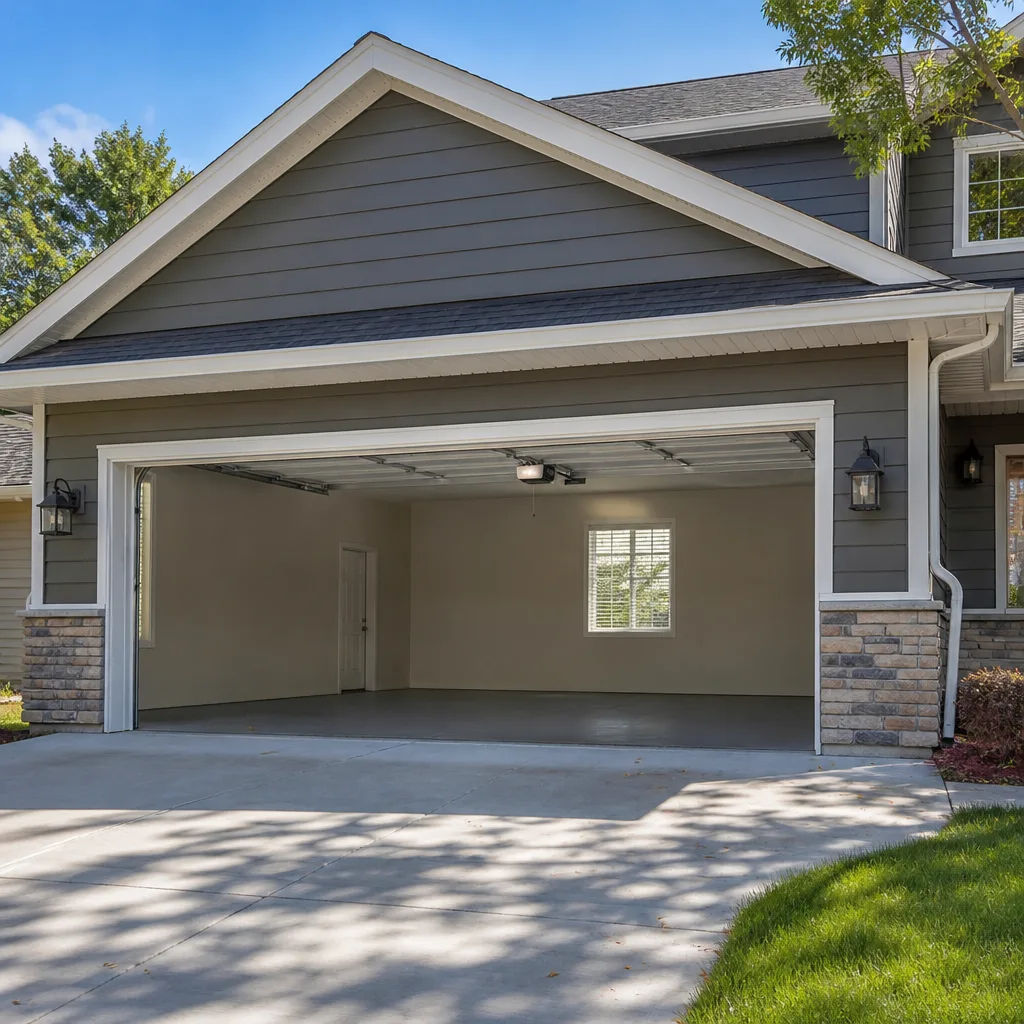 LiftMaster openers
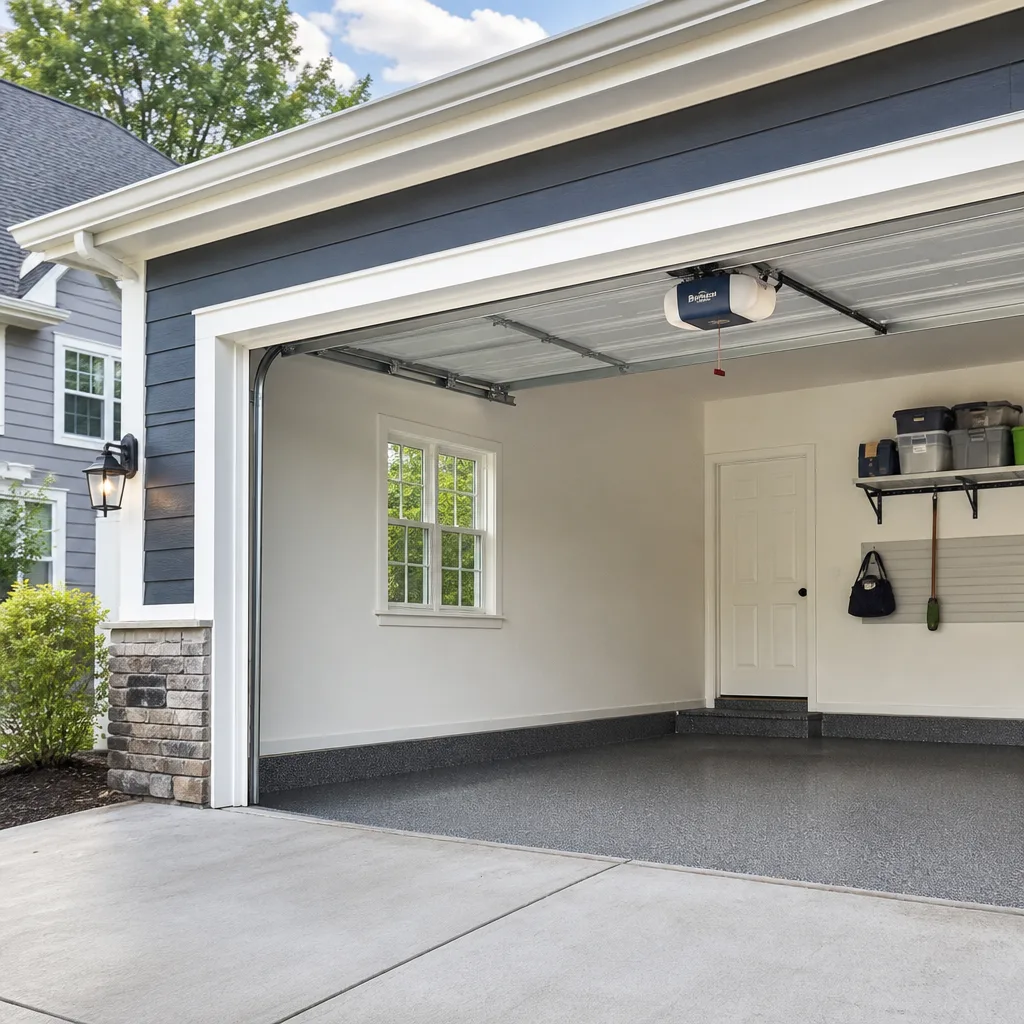 Chamberlain openers
Full 25-point door and opener safety check with every visit - springs, cables, rollers, tracks, and your LiftMaster or Chamberlain opener included
You get a price before we start. It does not change when the truck arrives.
Get your free estimateDIY vs Professional Garage Door: The Redlands Homeowner’s Decision Guide
Here’s a number most Redlands homeowners don’t expect: a single garage door torsion spring under full tension stores roughly the same kinetic energy as a compact car moving at 15 miles per hour. When it releases unexpectedly, that energy transfers to whatever is in its path. That’s the whole DIY-versus-professional debate in one sentence. This guide walks through every common garage door task, separates the genuinely safe from the genuinely dangerous, and gives you the same component-level judgment our technicians use when they’re standing in a driveway off Citrus Avenue or up in the hills near Sunset Drive.
Quick Answer
For garage door work in Redlands, the DIY-versus-professional line isn’t about skill; it’s about energy. Tasks involving stored spring tension, cable replacement, or opener logic board work are professional-only because the failure mode is fast and unforgiving. Tasks like roller cleaning, photo-eye realignment, limit adjustment, and basic track inspection are safe for a careful homeowner with standard tools and no liability exposure.
Styles & brands we work with
- Raised-panel steel
- Carriage house
- Modern flush
- Full-view glass
- LiftMaster openers
- Chamberlain openers
Table of Contents
- Torsion and Extension Springs: The Professional-Only Line
- Cables, Drums, and Brackets: Why They’re Never DIY
- Opener Work You Can Safely Do Yourself
- Opener Work That Requires a Specialist
- What Voiding a Warranty Actually Looks Like
- DIY vs Professional: Real Cost and Time Comparison
- After a Failed DIY Attempt: Preparing for the Service Call
- Redlands-Specific Factors That Change the Equation
Torsion and Extension Springs: The Professional-Only Line
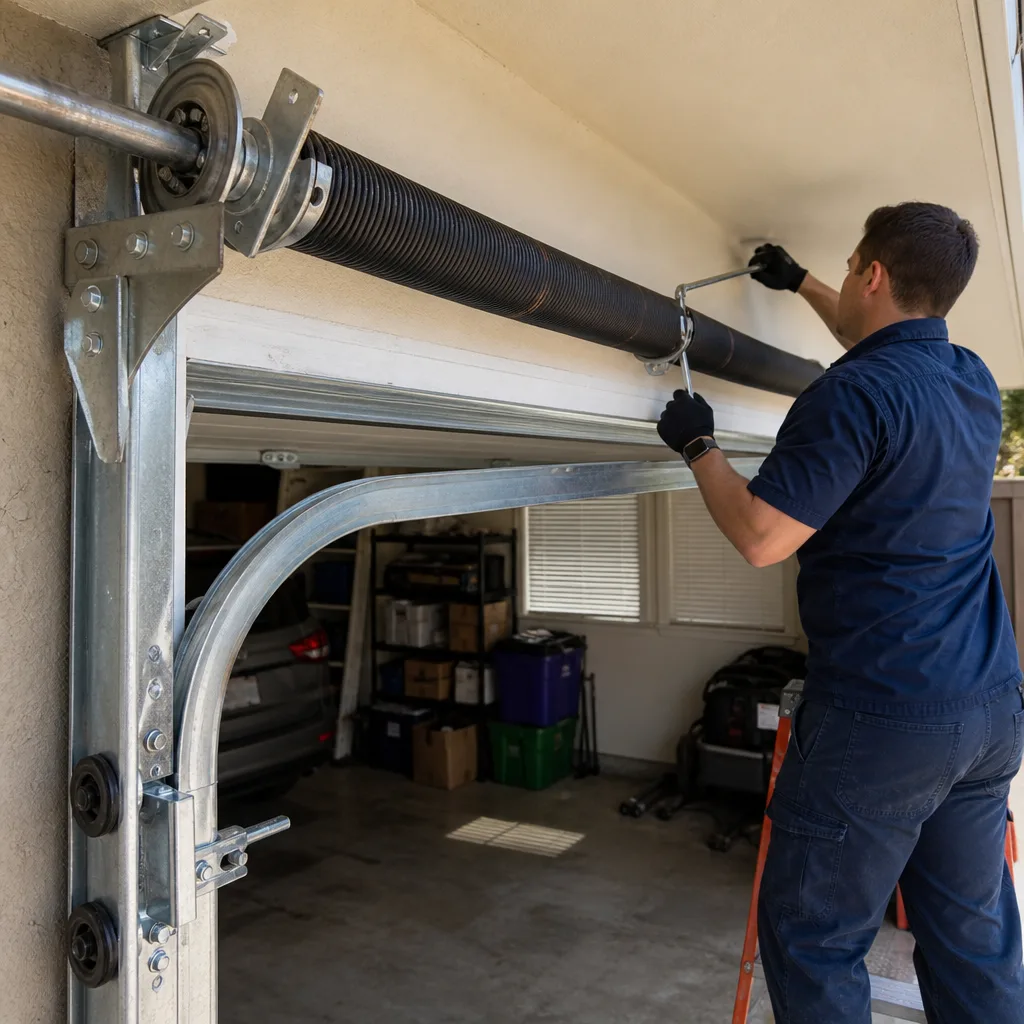
We’ll state this plainly because it’s the single most important paragraph on this page. Torsion springs on a standard Redlands two-car garage carry between 90 and 160 pounds of twisting force per spring when the door is closed. Extension springs, common on older doors built before 2000, stretch under similar load. Both types fail suddenly, not gradually. When a spring breaks, it releases every stored pound of that force in under a second. Your hand, forearm, or face should not be in the release path.
The mechanical reality is that winding a torsion spring requires two steel winding bars inserted into the winding cone, and each bar takes a quarter turn of force before you reposition for the next. A typical residential spring needs between 28 and 36 quarter turns to reach correct tension. That’s 14 to 18 full rotations under escalating load. A slip at turn 22 doesn’t hurt less because you’re almost done; it releases everything at once. This is not a handyman-caution paragraph. This is the reason Garage Door Repair in Redlands exists as a specialty trade.
There’s also a less obvious reason to stay away from spring work: the math. Springs are sized by door weight, door height, track radius, and drum size. A spring rated for a 160-pound Clopay door on a 12-inch radius track won’t balance correctly on a 150-pound Raynor with 15-inch radius track. An incorrectly sized spring either cycles out early (because it’s overworked) or leaves the door heavy at the top of travel, which burns out opener motors and creates a door that sits unevenly. Getting the size right means measuring wire diameter, inside diameter, length, and wind direction, then cross-referencing against the door’s actual weight. If you get one number wrong, you won’t know for six months, and when it fails, the repair costs more than the original spring would have.
Cables, Drums, and Brackets: Why They’re Never DIY
Lift cables run up both sides of the door, wrap around drums at the top, and anchor to a bottom bracket at each lower corner. When the door is closed on a torsion system, those cables are under full spring tension. When the door is open on an extension system, they’re relaxed. This means the specific risk depends on what type of system you have, but in both cases the cable itself holds the door square. A frayed cable is a warning; a snapped cable is a door that drops one corner and potentially comes off its track.
The bottom bracket is the anchor point for the cable, and it’s also where the cable tension transfers into the door structure. The bolts that hold a bottom bracket in place pass through the door panel itself. When those bolts loosen, the bracket shifts, the cable unwinds, and the door goes off balance. Replacing a bottom bracket requires securing the door, transferring the cable safely, and releasing only the specific tension needed to swap the part without unloading the entire spring system. That last part is the catch: you can’t replace a bottom bracket on a torsion door without managing the spring’s influence, which circles back to the previous section. On openers from LiftMaster or Chamberlain, a cable issue also strains the opener’s travel mechanism, because the motor is now fighting an unbalanced door. By the time you hear grinding, the damage has moved up the chain. This is Garage Door Opener Repair in Redlands territory at that point, not just a cable job.
Opener Work You Can Safely Do Yourself
Here’s the flip side. A meaningful portion of garage door opener issues are homeowner-appropriate, and you don’t need specialized training to handle them. The line is simple: if the work involves the operator logic, the safety sensors, or the mechanical door balance, it’s usually safe. If it involves the motor unit, the circuit board, or the internal gear assembly, it’s not. Below are the tasks we tell Redlands homeowners are fine to attempt with basic tools and patience.
Photo-Eye Sensor Realignment
The photo-eye sensors sit about six inches off the ground on either side of the door opening. They send an invisible beam across the opening, and if anything breaks that beam, the door refuses to close. Most sensor failures aren’t component failures; they’re alignment failures or dirt buildup. Here’s the step-by-step:
- Check both sensor lenses for dirt, cobwebs, or spider nests. Redlands’ dry summers mean dust accumulates on these lenses faster than homeowners expect. Wipe each lens with a dry microfiber cloth.
- Look at the small LED indicator on each sensor. On LiftMaster, Chamberlain, and Craftsman units, a solid green or amber light means power and signal; a flickering or off light means misalignment or wiring.
- Loosen the wing nut on the sensor bracket, adjust the angle until the LED turns solid, then retighten gently. Don’t overtighten; the bracket mounts into drywall or wood and strips easily.
- Test by placing a cardboard box in the door’s path and pressing the wall button. The door should stop and reverse before touching the box.
Ten minutes of work, no parts, no risk. If the LEDs stay solid but the door still refuses to close, the issue is more likely the logic board or a broken wire, and that’s a service call.
Travel Limit Adjustment
If your door closes and immediately reverses, or stops before fully closing and reverses, or doesn’t close all the way to the ground, the travel limits need adjustment. On modern LiftMaster and Chamberlain openers (roughly 2005 or newer), the travel limits are set digitally via the control panel or the wall-mounted smart controller. On older Craftsman and Genie units, there are physical limit screws on the motor housing. The adjustment itself is low-risk; you’re telling the motor where “up” and “down” end. The risk only enters if the door’s balance is wrong and you’re using limit settings to mask a spring or cable issue, which disguises a serious mechanical problem and causes early motor failure.
The homeowner-safe sequence is: adjust the limit no more than two turns (or two digital increments), test the door, and observe whether it closes evenly and stops cleanly. If you need more than four total increments to get correct operation, stop. That’s a door balance issue, not a limit issue, and the opener is telling you something about the door itself. Continuing to adjust the limits is the single most common way homeowners prematurely kill an opener motor.
Force Setting Recalibration
Opener force settings control how much resistance the motor overcomes before it treats something as an obstruction. Too little force, and the door reverses constantly. Too much force, and the door will close on a bicycle handlebar or a person without hesitating. The force setting is adjusted in the same control interface as the travel limits on modern LiftMaster, Chamberlain, and Genie units. The principle: set it to the minimum that reliably closes the door on a mild day, then test with a 2×4 laid flat under the door’s path. The door should contact the wood and reverse within two seconds. If it doesn’t, the force setting is too high, and you’re one mistake away from a crushed pet or damaged car bumper. This is a safe adjustment, but it’s a tuning step, not a fix for a dragging door.
Opener Work That Requires a Specialist
Everything inside the opener motor housing is professional territory, and the reason isn’t gatekeeping; it’s voltage and precision assembly. The motor unit contains the main drive gear, the worm gear, the circuit board, and in DC-motor models, the encoder. These components are assembled with calibrated tolerances. Miss one alignment pin during reassembly, and the opener runs for a week before stripping its own gear teeth. We see this regularly in Redlands: a homeowner opens a Chamberlain or LiftMaster unit to replace a $12 gear, spends a Saturday getting it back together, and calls us two weeks later because the opener now makes a grinding sound. The second repair is always more expensive than the first would have been.
Logic board failures are the other professional-only item. The circuit board interprets sensor input, controls motor direction, manages safety reversal, and communicates with the remote and keypad. Replacing a board isn’t inherently dangerous, but diagnosing which failure points to the board is. Jumping the wrong pins on a control board can send 120V through a component rated for 24V, and that’s a fire risk in a Redlands garage that might also house a water heater or stored cardboard. A Craftsman board from one year may not interchange with the same model from another year, and pinning out compatibility charts is specialist work. The safe play: if the opener is fully dead, responds intermittently, or behaves erratically across multiple remotes and wall buttons, it’s a board-level or motor-level diagnosis, and it’s time to call.
What Voiding a Warranty Actually Looks Like
The warranty question is where even careful homeowners get tripped up. Most people assume a warranty is voided only by obvious damage. In reality, opener warranties from LiftMaster, Chamberlain, and Genie contain clauses that void coverage when the unit has been “modified, altered, or serviced by non-authorized personnel.” That language matters. If you replace the main drive gear in a LiftMaster yourself and the motor fails three months later, the manufacturer will deny the motor claim even if your gear replacement was clean. The service event itself, not the quality of the work, triggers the void. Here’s what that looks like in practice by task:
- Opening the motor housing: Void on all three major brands. This counts as “service.” The serial-numbered security seals exist specifically so manufacturers can detect this.
- Replacing the photo-eye sensors: Not a void on any major brand if you’re swapping the sensors only. But if you splice the wiring to do it, that’s an alteration, and it voids.
- Replacing the travel limit module or control board: Void. This is explicitly listed as non-user-serviceable in LiftMaster and Genie documentation.
- Replacing the remote or keypad: Never a void. These are consumer-replaceable accessories, and the warranty language targets the opener mechanism, not the operators.
- Adjusting travel limits and force settings from the external panel: Not a void. This is documented as user maintenance in owner’s manuals for LiftMaster, Chamberlain, and Craftsman.
- Replacing the emergency release cord or handle: Not a void on any brand, as long as you don’t open the housing to do it.
For door warranties, the rules are stricter because the spring system is the tensioned component. Clopay, Amarr, Wayne Dalton, and Raynor all carry language voiding the door warranty if the spring system or cables are serviced by an unqualified person, and some require professional installation for warranty activation at all. If you bought a home with an existing door and you don’t have the original installation documentation, assume the door warranty is already a gray area. The practical takeaway: if the repair is outside the motor housing and outside the spring/cable system, your warranty is fine. If it touches either, you’re rolling the dice on a full-denial scenario, and that’s a risk nobody needs when a professional repair costs less than a denied claim.
DIY vs Professional: Real Cost and Time Comparison
The honest math on DIY garage door work includes a line item most online guides skip: the cost of a second attempt. On the surface, DIY saves labor. But when a homeowner misdiagnoses the first time, buys the wrong part, or fixes the symptom instead of the cause, the total spend can overshoot a professional repair by 50% or more. Here’s how the numbers shake out for Redlands-area supply costs and typical professional labor.
- Photo-eye sensor replacement: DIY: $30 to $60 for a matched pair of sensors, 45 minutes of time, zero risk. Professional: $120 to $180. DIY is clearly reasonable here if the sensors are clean-replace items with no splicing.
- Roller replacement (nylon, 10 rollers): DIY: $40 to $80 for quality nylon rollers, two hours, moderate risk because removing the bottom roller requires holding the door off its track under tension. Professional: $180 to $260. DIY is defensible for upper rollers only; bottom rollers sit near the cable, and if the cable slips, this becomes a much bigger job.
- Travel limit or force adjustment: DIY: $0, 20 minutes. Professional: $95 to $150 for a service call. DIY is completely appropriate, provided you follow the rule of stopping after four increments.
- Opener gear replacement: DIY: $15 to $40 for the gear kit, three to four hours, and you’re opening the housing, which voids the warranty. Professional: $180 to $260. The savings here looks real until the warranty void matters, and it matters more often than people think.
- Spring replacement (one torsion spring): DIY: $50 to $90 for the spring, but the winding bars, spring gauge, and alignment tools add another $60 to $100 if you don’t own them, and the failure risk is severe. Professional: $220 to $380 for one spring, $350 to $550 for two. This is not a place where DIY makes sense at any savings level.
- Full door balance and tune-up: DIY: not realistic without a spring tension gauge and experience. Professional: $140 to $220. This is the best value in garage door maintenance, and we recommend it annually in Redlands because the summer heat accelerates component wear.
Time matters too. A homeowner’s first photo-eye replacement typically takes an hour including watching a video. A professional does it in 15 minutes during a scheduled call. That’s fine; the savings is still real. But a homeowner’s first spring replacement attempt, if it doesn’t result in injury, often takes an entire day because every step is done cautiously. Meanwhile the professional handles it in under 90 minutes. When time equals money, the calculus shifts hard toward professional for tension-system work.
After a Failed DIY Attempt: Preparing for the Service Call
This section exists because we’ve been called to many Redlands homes after a Saturday project went sideways. There’s no shame in it; the smart homeowner is the one who stops before making it worse. When you call, here’s what speeds up the visit and avoids a diagnostic upcharge.
- Have the brand and model ready, not just “the opener” or “the door.” The opener model is on a sticker on the motor housing or the rail. LiftMaster and Chamberlain put model numbers like “LM-8365W” and “C450” on the back or side. Door brand is usually stamped on the hinge plates or the bottom edge of the bottom panel. This lets our technician bring the right parts the first time, and it’s why we carry inventory for Clopay, Amarr, Wayne Dalton, and Raynor rather than ordering blind.
- Describe the exact failure in sequence, not just the symptom. “The door started grinding, then reversed, now it won’t close all the way” is more useful than “it’s broken.” Write it down if you have to.
- Disconnect the opener if the door is stuck in a half-open position. Pull the emergency release cord, which is red on most units, and manually lower the door if it will move smoothly. If the door won’t move manually, say so on the call; that tells us there’s a broken spring or a cable off the drum, and the technician will arrive knowing to avoid certain assumptions.
- Clear the garage floor under the opener and remove vehicles if possible. Service requires ladder access and room to work around the door. A packed garage means the job takes longer, and time is the main driver of cost.
- Note anything you already replaced or adjusted. If you swapped the sensors, adjusted the limits, or replaced the remote battery, say so. This saves the technician from re-diagnosing something already eliminated.
All of this means the technician spends the visit on the actual problem, not on discovery you’ve already done. That’s the difference between a $150 repair and a $300 repair in many cases, and it’s also the difference between one visit and two. For a full look at what’s involved in professional repair, see Garage Door Repair in Redlands, and for opener-specific work, Garage Door Opener Repair in Redlands covers what happens after the phone call.
Redlands-Specific Factors That Change the Equation
Redlands summers do things to garage door systems that most national guides never mention. From June through September, daytime temperatures in the garage regularly reach 110 to 125 degrees, and that heat accelerates two specific failure modes. First, spring wire loses its temper faster, meaning a spring rated for 10,000 cycles in a temperate climate may fail at 7,000 or 8,000 cycles here. Second, opener circuit boards are sensitive to sustained heat; capacitor failures and solder joint cracks show up more often in Redlands openers than in coastal units. If your opener quits in the late afternoon on a hot day, the heat is likely a contributing factor.
The dry climate also means more dust and silt in the tracks and on the sensor lenses. Homes near the city’s numerous citrus groves and open space get fine airborne particulate that settles on horizontal surfaces. This isn’t a reason for professional service by itself; it’s a reason for quarterly track cleaning and monthly sensor-lens wiping, which any homeowner can handle with a rag and compressed air. A clean track and clean sensors prevent roughly a third of the no-opener-response calls we see in the area.
Home age matters in Redlands too. The city has a large stock of houses built between the 1950s and 1970s, and many of those garages still run on extension springs rather than torsion springs. Extension springs are safer to inspect but not safer to replace; the cables and hooks under tension carry the same stored energy. Homes built after 1990 mostly use torsion systems, and the track radius and panel weight vary by builder. If your South Redlands bungalow has an original wooden door from the Eisenhower era that’s been retrofitted with an opener, the whole system is out of original spec, and that’s exactly the scenario where professional assessment matters most.
Common Mistakes to Avoid
- Adjusting travel limits repeatedly to mask a failing spring. The door starts reversing at the bottom, so the homeowner raises the down limit. The door gets harder to lift, so the homeowner raises force settings. Six months later the spring breaks, and the opener motor is also burned out from fighting the extra load. Two repairs that cost more than the one spring would have.
- Buying generic springs online and installing them without verifying the cycle rating. A spring from an online discounter costs less but is often rated for 5,000 cycles, while a professional-grade spring is rated for 20,000 to 30,000. In Redlands’ heat, the discount spring fails in three to five years. The price difference doesn’t hold up over time.
- Using WD-40 on garage door tracks or hinges. This is the most common DIY mistake we see. WD-40 is a solvent and light lubricant, not a garage door lubricant. It attracts dust in Redlands’ dry climate and eventually creates a sticky paste in the track that makes the door work harder. Use a lithium-based garage door lubricant on hinges, rollers, and springs, and leave tracks dry.
- Replacing only one spring when both are old. Both springs age together. When one breaks, the other is usually close behind. Replacing one means paying for labor twice in the space of a year, and the door runs slightly unevenly in the meantime. Replace springs in pairs unless the second spring was replaced recently and you have documentation.
- Ignoring a grinding opener because it still works. Grinding means the gear is shedding material. It will continue to work until the gear strips completely, at which point the door won’t open at all, and the repair includes gear replacement plus potential motor shaft damage. The grinding sound is your low-cost warning. Waiting converts a $200 job into a $400 job.
- Manually lifting a door after a spring breaks and leaving it open. When a torsion spring breaks, the door loses its counterbalance and becomes extremely heavy. Forcing it open risks pulling the cables off the drums and dropping the door. If the door won’t move easily by hand, leave it down and make the call.
See the difference
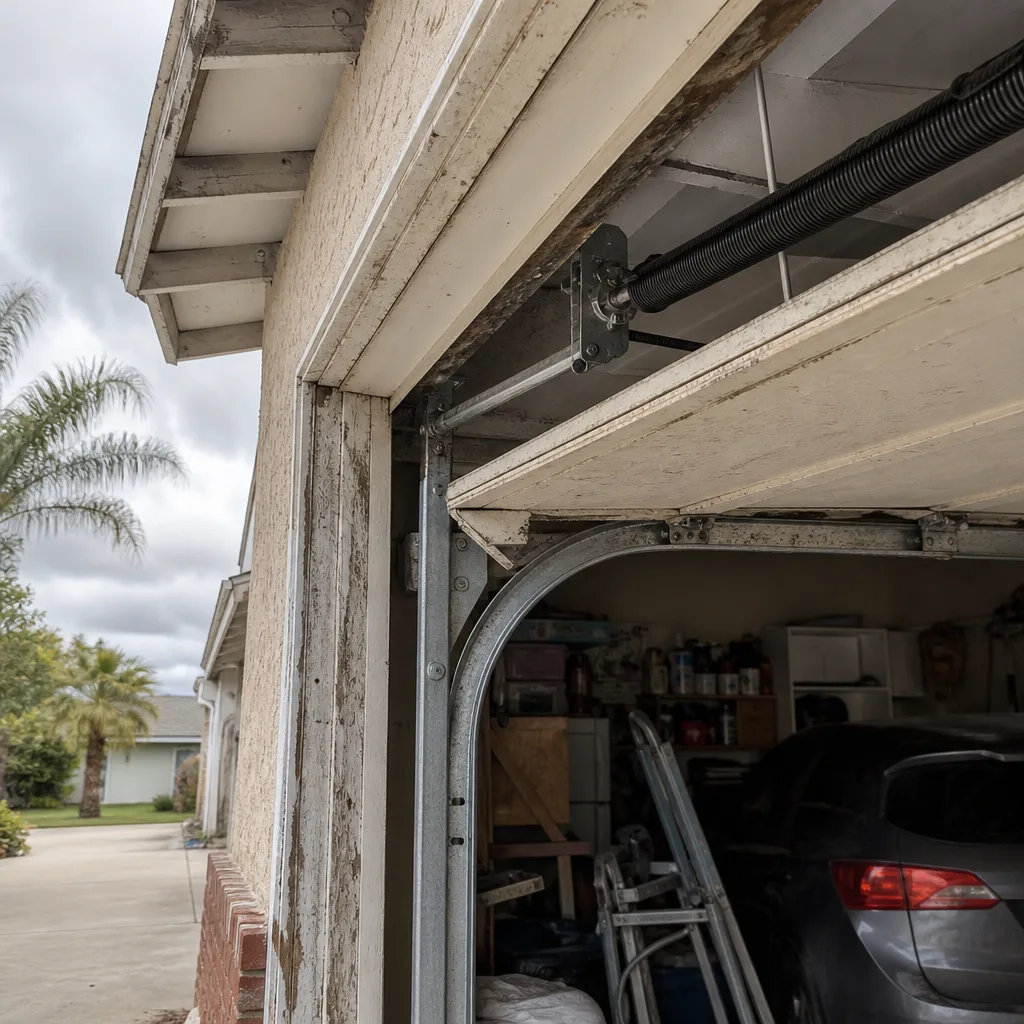 Before
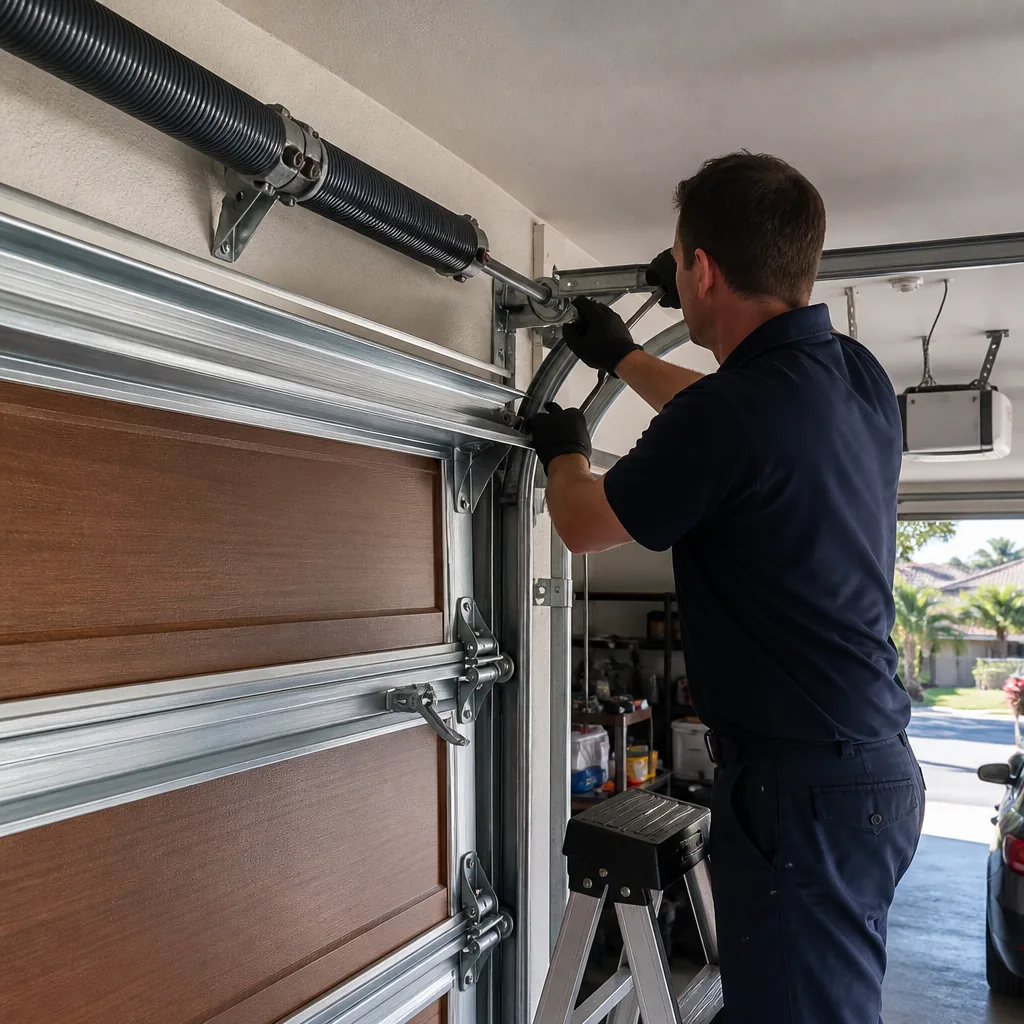 After
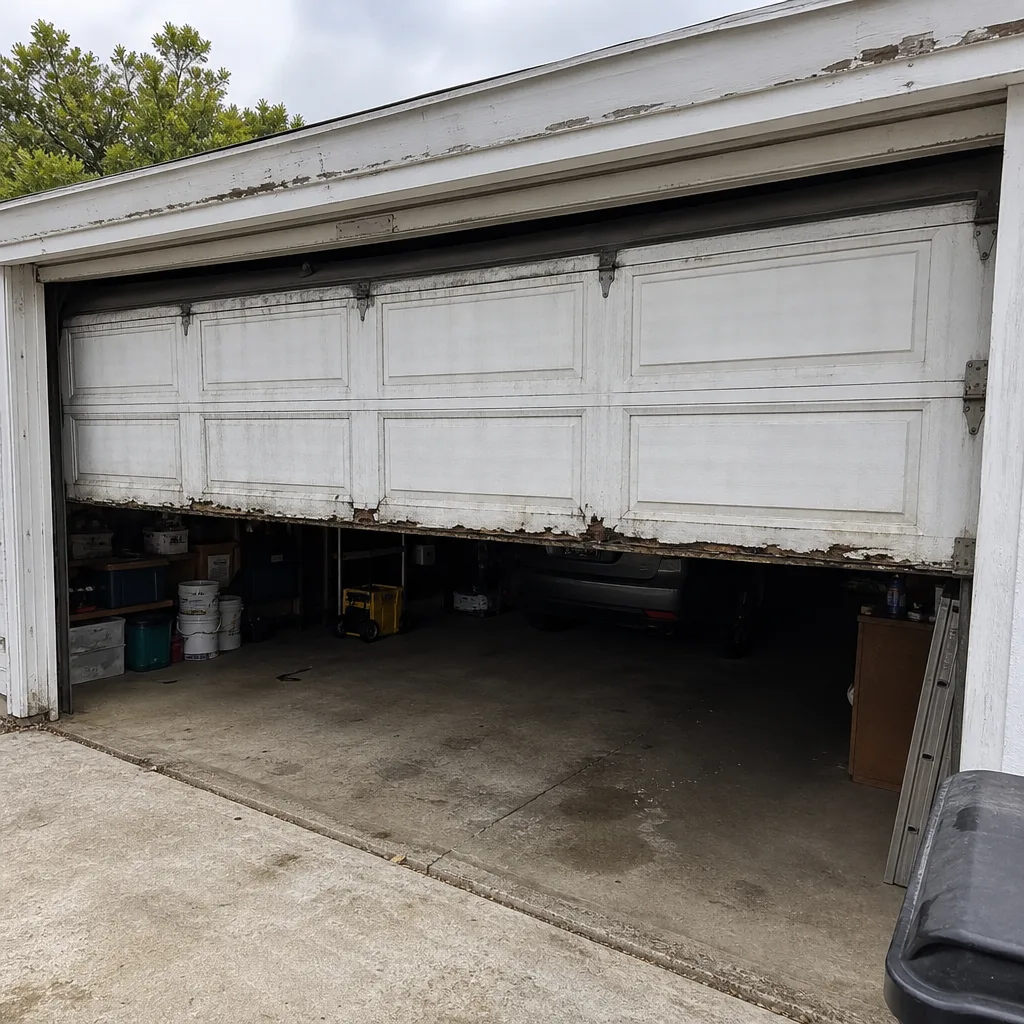 Before
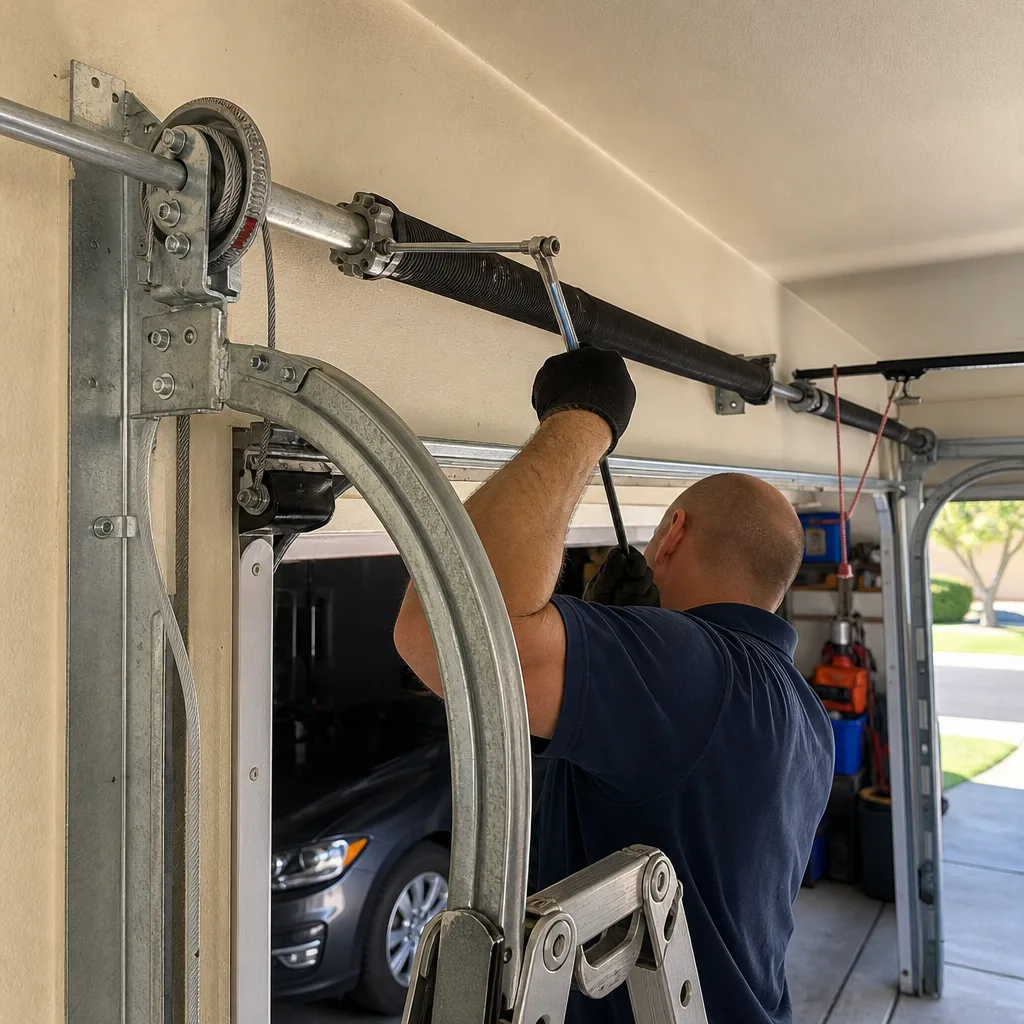 After
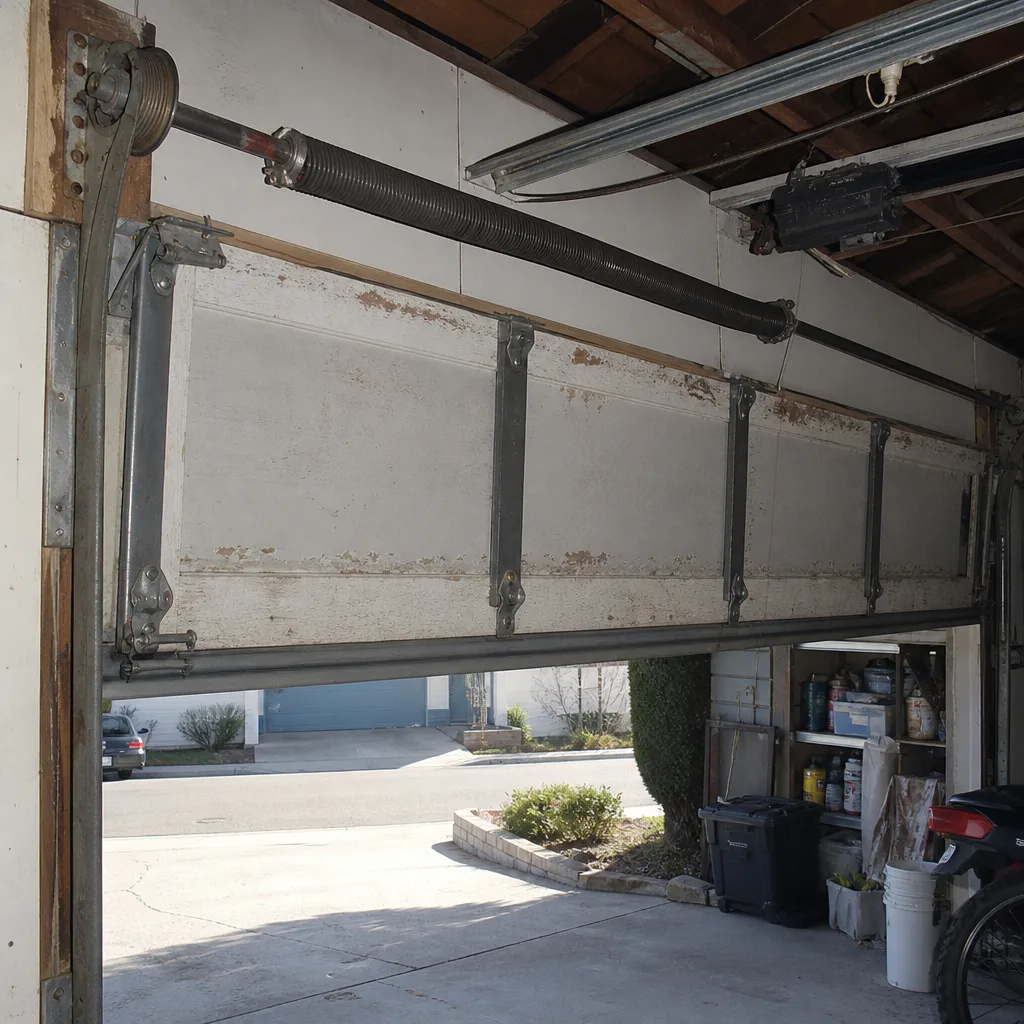 Before
 After
When to Call a Professional
Call when the work involves a torsion or extension spring, any cable or bottom bracket, anything inside the opener motor housing, or any door that won’t move manually with reasonable effort. Call when the issue has persisted across two or more of your own attempted fixes, because marginal adjustments compound. Call when the door is making metal-on-metal noise, when the opener motor runs but the door doesn’t move, or when the door came off its track. Garage Door Repair Redlands offers free estimates in Redlands, and the phone call itself costs you nothing but five minutes. Dial (833) 589-9897 and describe what you’re seeing; if it turns out to be a ten-minute homeowner fix, we’ll tell you that on the call and save you the visit.
Frequently Asked Questions
Single torsion spring replacement in Redlands typically costs between $220 and $380 including parts and labor, while a pair runs $350 to $550 depending on the door weight and spring cycle rating. The price varies based on whether your door uses one spring or two and whether the spring is rated for standard or high-cycle use. Call (833) 589-9897 for an exact quote; estimates are free and the price is agreed before any work starts.
Replacing a garage door spring yourself is not recommended under any circumstances because the stored tension in a wound spring is sufficient to cause severe injury to hands, arms, or face if the winding bar slips. This is a professional-only repair regardless of your mechanical experience or the quality of the tutorial you’ve watched. The risk is not tied to skill; it’s tied to the energy in the spring.
Homeowners can safely clean and lubricate hinges and rollers, wipe down photo-eye sensor lenses, realign sensors, replace remote batteries, reprogram remotes and keypads, adjust travel limits and force settings via the external control panel, and replace the emergency release cord. All of these tasks avoid stored spring tension and the opener motor housing. If you’re unsure which category a task falls into, call us and ask; the guidance is free.
Opening the motor housing, replacing the control board, or splicing sensor wiring voids the warranty on LiftMaster, Chamberlain, and Genie openers, even if your repair was done correctly. Adjusting travel limits, replacing remotes, and swapping photo-eye sensors do not void the warranty. If you’re considering any repair that involves opening the unit, check your warranty documents first, and if you can’t find them, treat the repair as non-warranty work.
We stock parts for LiftMaster, Chamberlain, Genie, Craftsman, Clopay, Amarr, Wayne Dalton, and Raynor, which covers the vast majority of residential garage door and opener systems in Redlands. For opener repair, we arrive with the brand-specific boards, gears, and sensors your model uses rather than generic substitutes. For door work, we carry the roller sizes, hinge patterns, and spring wire gauges that match your door’s actual weight and track geometry.
Most single-component repairs, including spring replacement, sensor swap, gear replacement, and travel limit correction, take 45 to 90 minutes once our technician is on site. Full door balance and multi-component tune-ups run two to three hours. For installation or replacement, see Garage Door Installation in Redlands for timeframes on measured, ordered, and scheduled work. Call (833) 589-9897 with your opener or door brand and model ready, and we’ll give you an accurate window before we arrive.
The Bottom Line
Garage door work isn’t one category; it’s a spectrum. Sensor lenses, remote batteries, external limit adjustments, and track cleaning are homeowner work, and doing them yourself saves real money with minimal risk. Springs, cables, bottom brackets, and anything inside the opener motor housing are specialist work, and attempting them risks injury, warranty voidance, and a costlier second repair. Redlands’ heat and dust accelerate wear and make regular maintenance more important here than in coastal climates. The smart decision isn’t DIY versus professional as a fixed answer; it’s knowing which side of the line each specific task falls on. If you’re not sure which side you’re looking at, call (833) 589-9897 and describe the symptom. The consultation is free, and the answer might save you a Saturday and a scar.
Written by the team at Garage Door Repair Redlands, serving Redlands since 2018.