
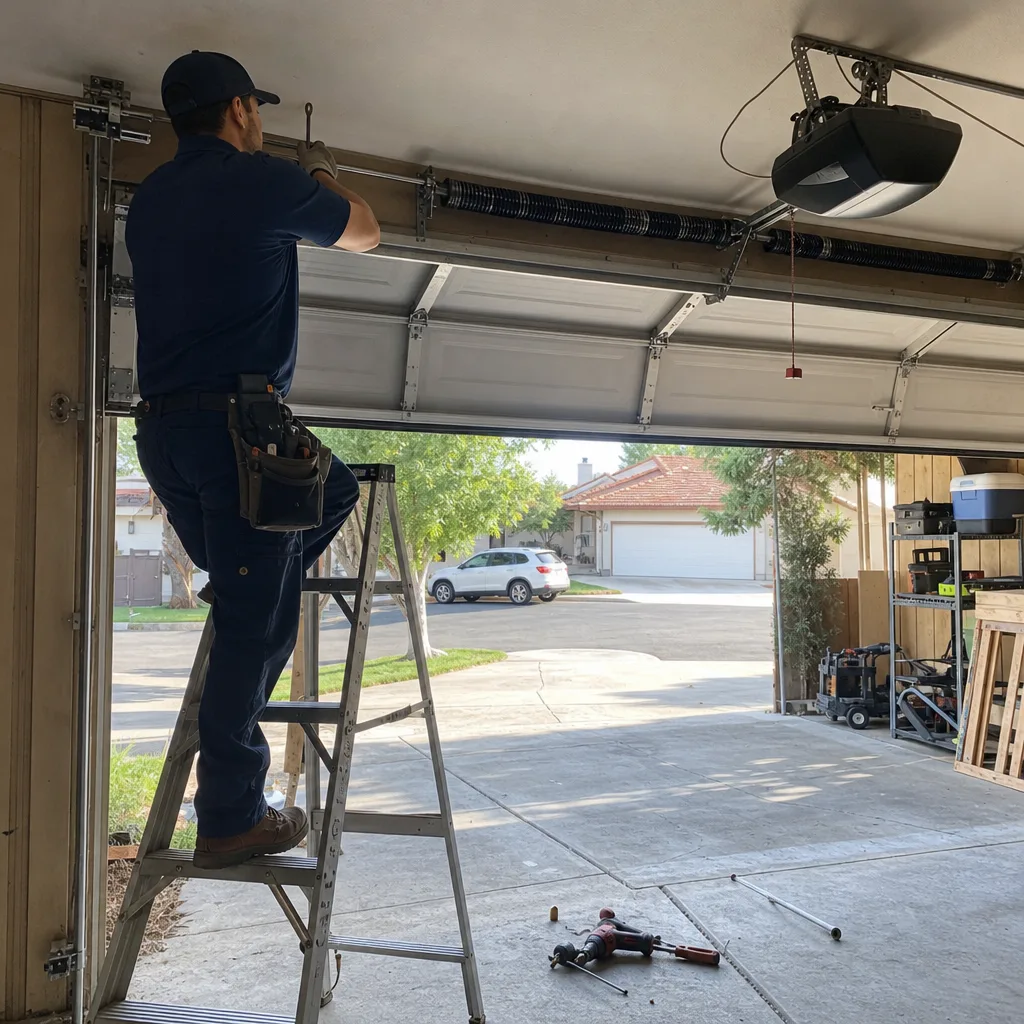
Last updated November 2, 2026
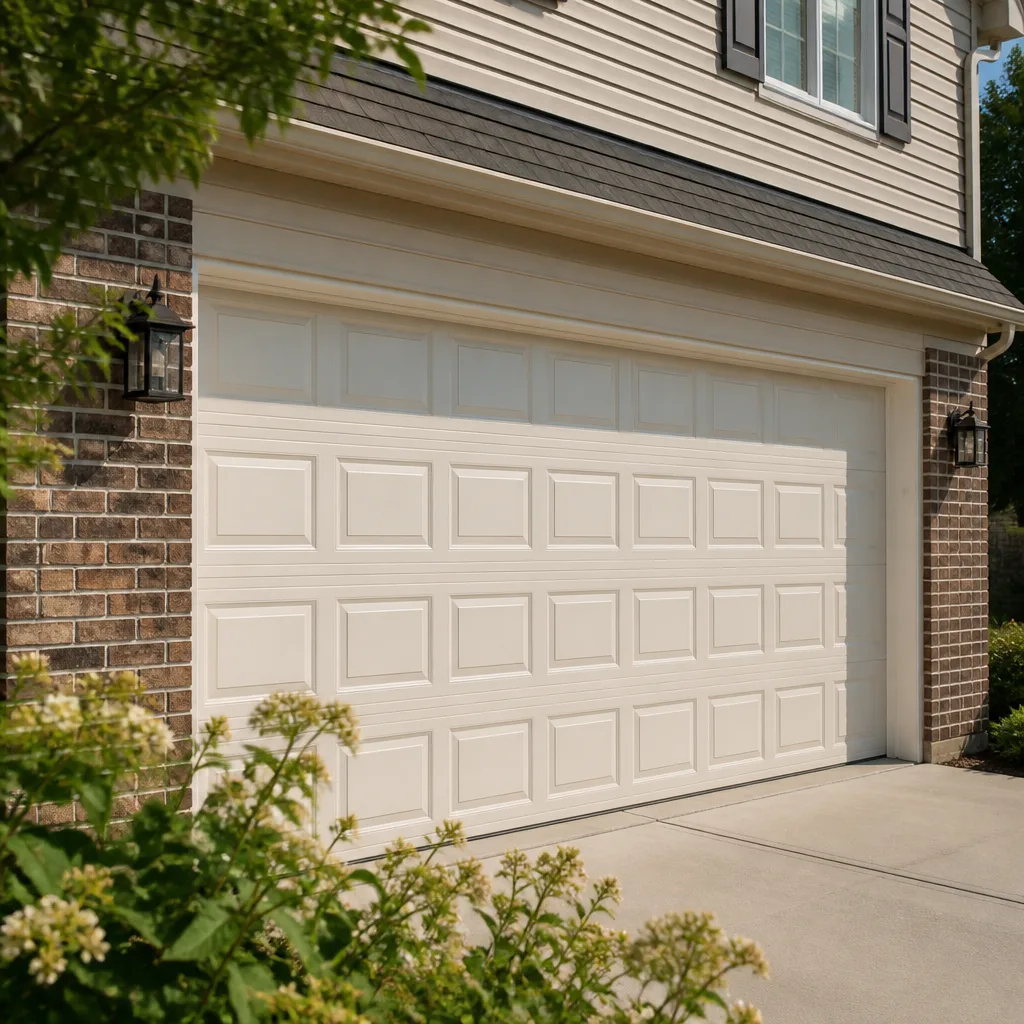 Raised-panel steel
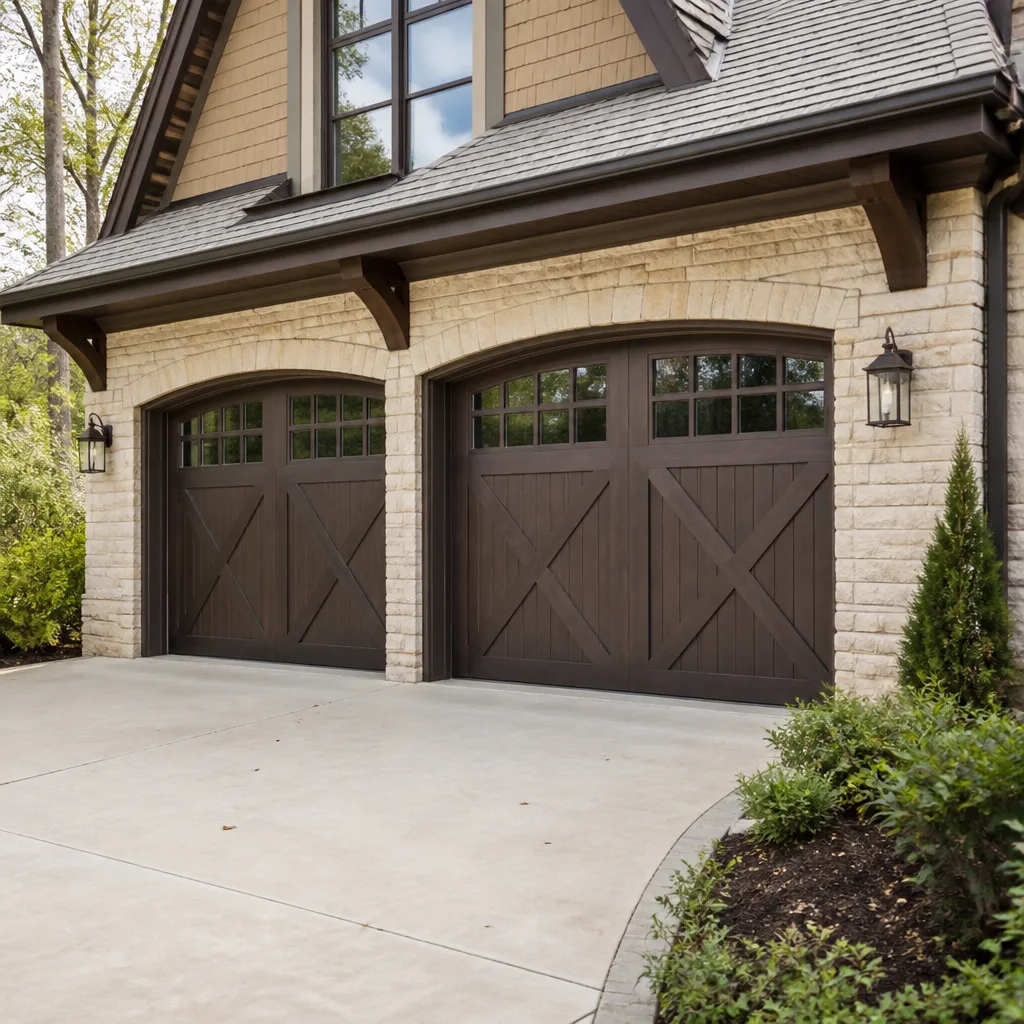 Carriage house
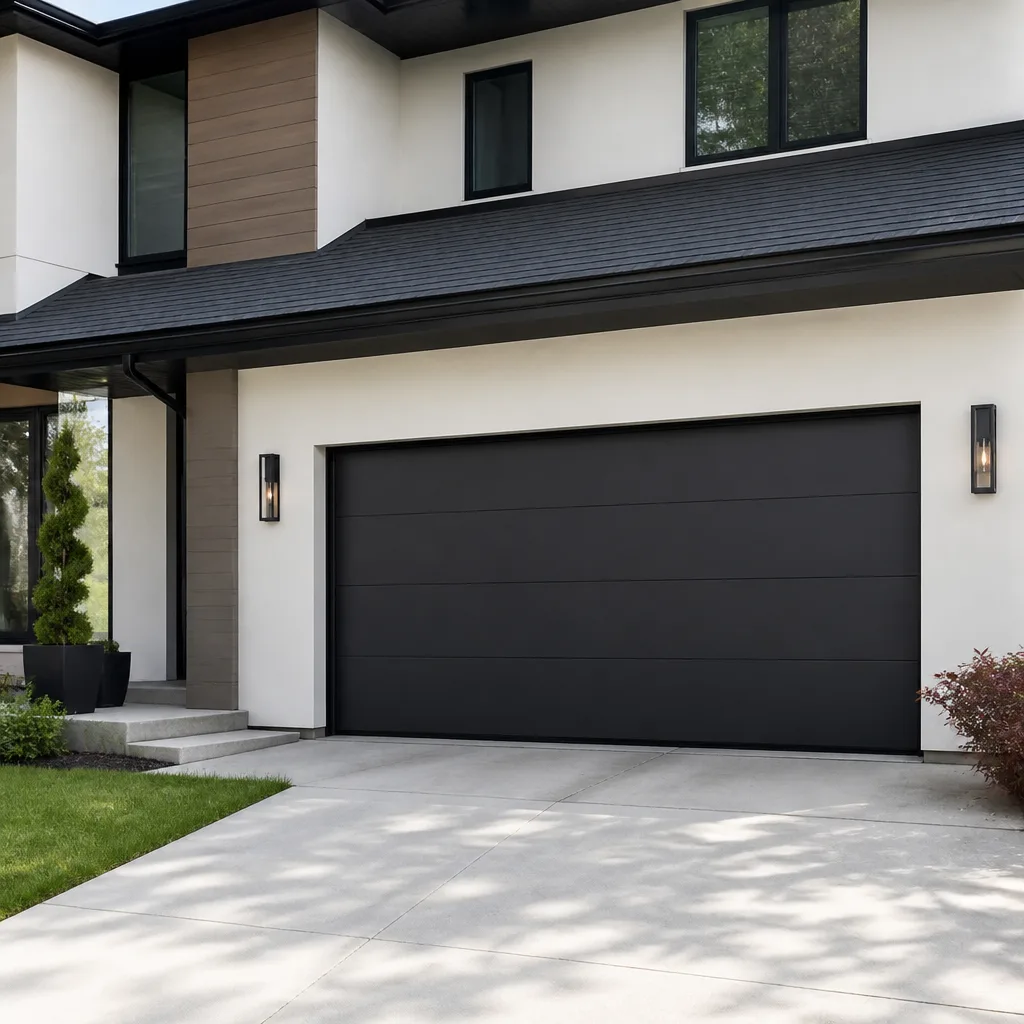 Modern flush
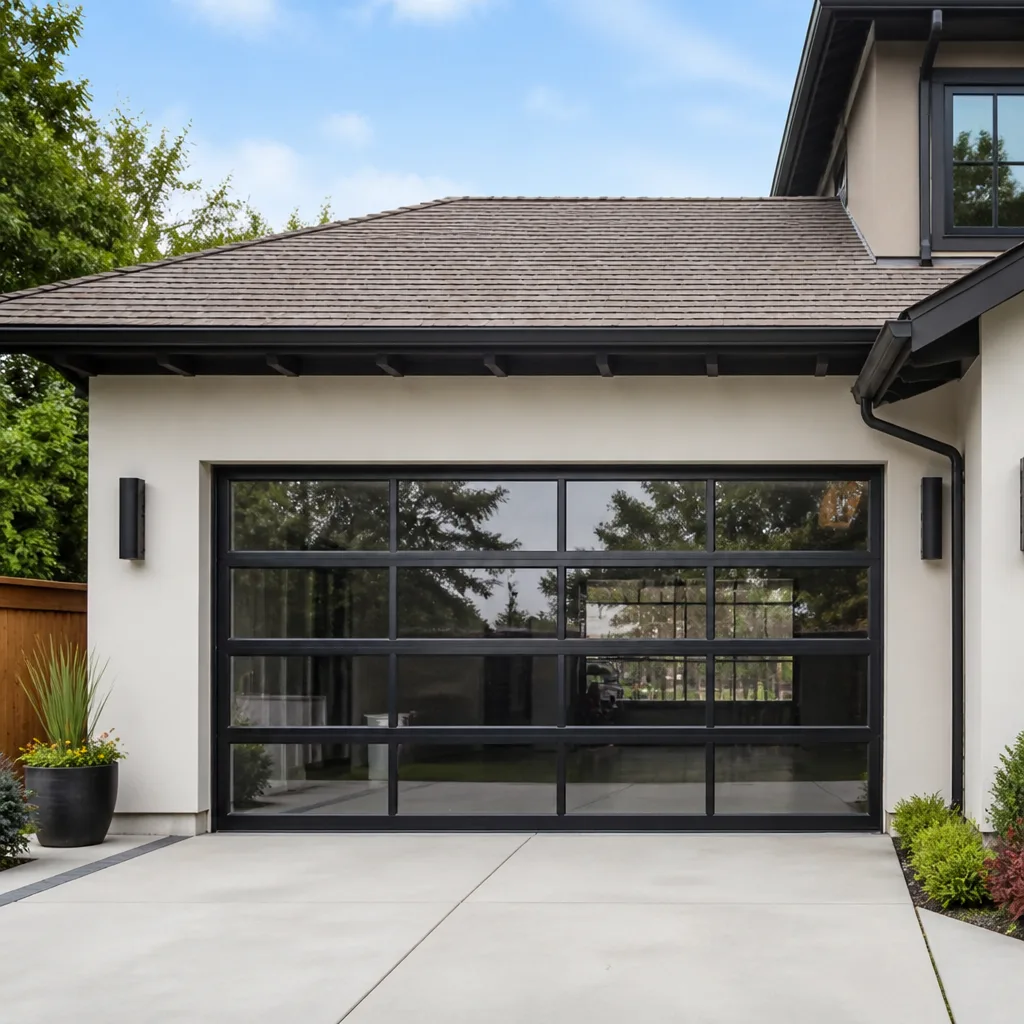 Full-view glass
 LiftMaster openers
 Chamberlain openers
Full 25-point door and opener safety check with every visit - springs, cables, rollers, tracks, and your LiftMaster or Chamberlain opener included
You get a price before we start. It does not change when the truck arrives.
Get your free estimateGarage Door Repair Troubleshooting: Common Problems and How to Fix Them
If your garage door reverses before it hits the ground, most people adjust the close-force setting. That fix works less than 40% of the time, because dirty photo-eye lenses cause the exact same symptom. The truth about garage doors is that what you notice – the grinding, the jerking, the door that won’t budge – is rarely the actual problem. It’s a downstream effect. The real issue lives in a spring, a cable, a travel limit, or a logic board, and chasing the symptom instead of the system is exactly why the same problem keeps coming back. This guide is built around pattern-based troubleshooting: matching what you observe to the component actually responsible. We’ve put it together from years of hands-on work across Redlands garages and the full range of brands homeowners actually own, drawing on our Garage Door Repair services experience.
Quick Answer
Most garage door problems fall into one of eight symptom patterns, each tracing to a specific component: springs, cables, rollers, tracks, photo-eyes, travel limits, the opener’s drive system, or the logic board. Start by identifying the symptom, not guessing at the cause. If the door won’t move, check the emergency release. If it moves but behaves erratically, the issue is almost always in the springs or the photo-eye circuit – both diagnosable with simple tests you can do in under a minute. For deeper context, see our guide to Garage Door Warning Signs: A Redlands Homeowner’s Reference Guide.
Styles & brands we work with
- Raised-panel steel
- Carriage house
- Modern flush
- Full-view glass
- LiftMaster openers
- Chamberlain openers
Table of Contents
- The Symptom-to-System Matrix
- The Loud Pop: Broken Spring or Snapped Cable?
- Opener Error Codes Decoded: LiftMaster, Chamberlain, and Genie
- Travel Limits and Force Settings: When to Adjust, When to Stop
- The Manual Balance Test: Checking Springs Before They Fail
- Photo-Eye Problems: The Most Misdiagnosed Symptom in Garage Doors
- Noisy Operation: Rollers, Tracks, and What Grinding Actually Means
- Redlands Climate and Your Garage Door: What the Heat and Santa Ana Winds Do
- Common Mistakes to Avoid
- When to Call a Professional
- Frequently Asked Questions
The Symptom-to-System Matrix
Before you touch anything, you need to know which component you’re actually dealing with. Here’s the pattern map we use on service calls throughout Redlands. Match your symptom to the system, and you’ll avoid the number one mistake homeowners make: adjusting a setting to compensate for a mechanical failure.
- Grinding or metallic scraping – Rollers or bearings. The sound is metal-on-metal contact, meaning a roller has seized or its bearing has disintegrated. On Raynor and Clopay doors, this commonly shows up first on the bottom roller, which carries the most weight.
- Door reverses before closing – Photo-eye obstruction or misalignment in about 60% of cases. Close-force setting accounts for the rest. Check the eyes before you adjust anything.
- Door sags on one side when open – Spring tension imbalance or a stretched cable. The door is lifting unevenly, which means one side is doing more work than the other.
- Opener motor runs but door doesn’t move – The emergency release is disengaged, the drive gear is stripped, or the travel module has failed. Check the release cord first – it hangs down near the front of the rail.
- Door jerks or shudders during travel – Bent track section, misaligned track, or a worn roller stem. The door is binding at a specific point in its travel path.
- Door opens a few inches then stops – Broken spring (if the opener struggles) or up-force setting too low (if the opener gives up immediately). The distinction matters: a broken spring needs replacement, not adjustment.
- Door closes with a slam in the last few inches – Worn cables, a weak spring, or down-force set too high. The door is free-falling through the final travel segment.
- Opener hums for a second then shuts off – Capacitor failure or a seized drive motor. This is electrical, not mechanical, and it’s more common on older LiftMaster and Craftsman units than homeowners realize.
In our experience across Redlands garages, the most common pattern we see is the door that runs fine for weeks, then intermittently refuses to close. Nine times out of ten, that’s the photo-eye circuit losing alignment or accumulating dust – not a failing opener.
The Loud Pop: Broken Spring or Snapped Cable?
A loud bang from your garage sounds like a gunshot, and most people assume the spring broke. That’s right about half the time. The other half, it’s a snapped cable – and the fix is completely different. Here’s the visual check that distinguishes them in under 30 seconds.
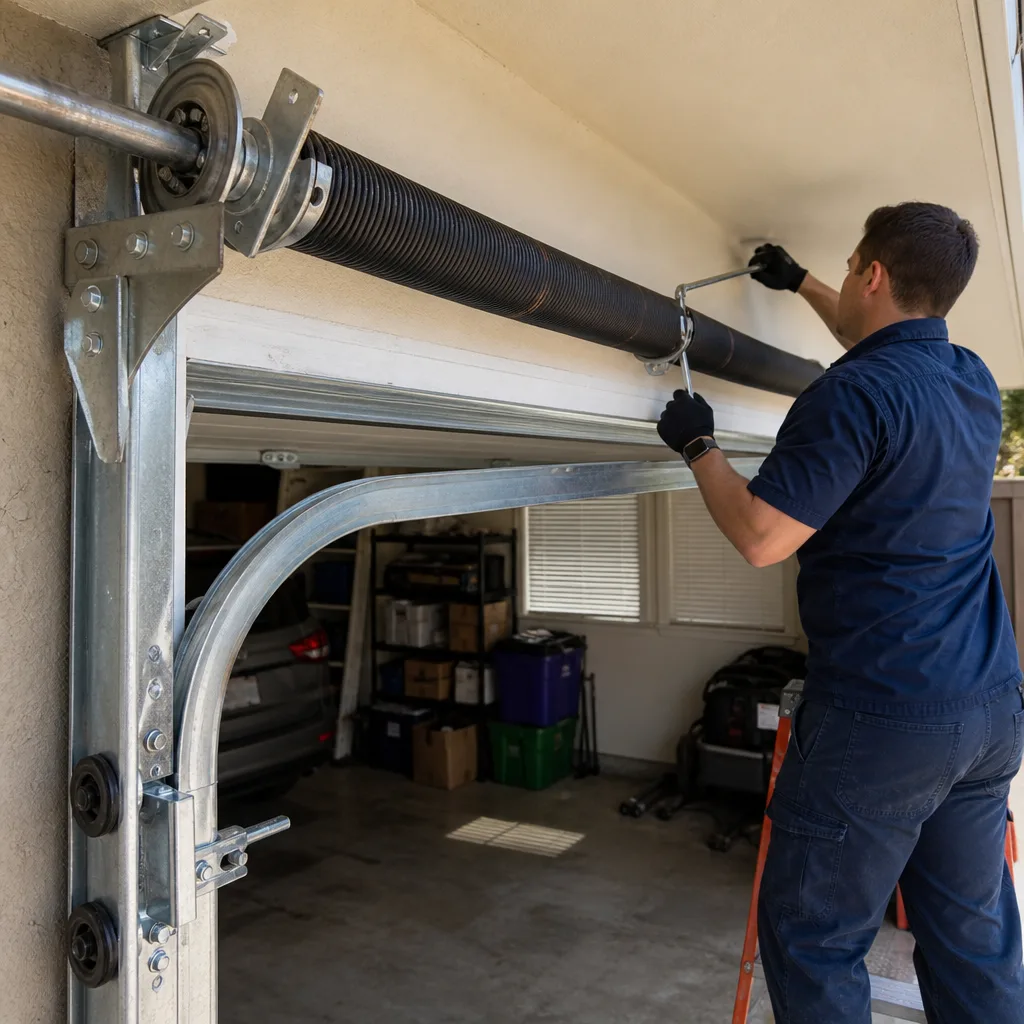
Step 1: Look at the torsion spring above the closed door. If you see a visible gap in the coil – a separation where the spring should be continuous – the spring is broken. On torsion systems, the break usually happens near the center or at the winding cone.
Step 2: If the spring looks intact, look at the cables running along each side of the door. A snapped cable will be visibly loose, frayed, or hanging. On standard lift systems, you’ll see the cable detached from the bottom bracket.
Step 3: Check the door’s balance. If the spring broke, the door will feel extremely heavy when you try to lift it manually. If a cable snapped, one side will lift while the other stays down, and the door will bind in the track.
Why does this matter? Because a broken spring requires immediate replacement – driving the door on a broken spring will strip the opener’s drive gear within days. A snapped cable, on the other hand, usually means the cable wore through from age or the spring was carrying uneven load. Either way, this is not a DIY repair. Torsion springs are under hundreds of pounds of tension, and a cable replacement requires re-tensioning the entire system. We carry brand-specific springs and cables for LiftMaster, Chamberlain, Genie, and Craftsman systems in our Redlands service vehicles.
Opener Error Codes Decoded: LiftMaster, Chamberlain, and Genie
Your opener is trying to tell you what’s wrong, but the manuals barely translate the codes. Here are the codes we see most often in Redlands garages, decoded into plain language.
LiftMaster and Chamberlain (they share the same logic board family):
- 1 flash: Photo-eye wire reversed or shorted. The opener thinks the eyes are misaligned or the wiring is crossed. Check the sensor wiring at the back of the motor unit.
- 2 flashes: Photo-eye obstruction or misalignment. Clean both lenses, check alignment, and clear any debris. In our experience, spider webs across the lens are the most common culprit in newer Redlands homes near the foothills.
- 4 flashes: Photo-eye wires reversed at the logic board. This happens after a board replacement or if someone’s been in the opener housing.
- 5 flashes: Motor overheated. Let it cool for 15 minutes, then test. On Chamberlain units from the last decade, this often means the RPM sensor is dirty or the motor bearings are wearing.
- 6 flashes: Travel module failure. The opener can’t read its own position. This typically requires replacing the travel module or the logic board – it’s not a user-serviceable fix.
Genie (different logic entirely):
- 1 red light, 1 green light: Photo-eye circuit open. Check wiring connections at both ends.
- 2 red lights: Safety beam obstructed. Clean lenses and realign.
- 3 red lights: Door contact obstacle detected. The door hit something during travel. Check the travel path for an obstruction.
- 4 red lights: Control board fault. This is the Genie equivalent of a blue screen – power cycle first, but if it returns, the board needs replacement.
Here’s what the manuals don’t tell you: error codes reset when you pull power, but the underlying fault doesn’t. If you’ve cleared an error code twice and it comes back a third time, the component is failing, not glitching. That’s the point to stop resetting and start replacing.
Travel Limits and Force Settings: When to Adjust, When to Stop
Every opener has two sets of adjustments: travel limits (how far the door moves in each direction) and force settings (how hard the motor pushes). The most damaging mistake we see in Redlands garages is cranking up the force to “fix” a door that’s struggling. Here’s the actual rule: travel limits and force settings are calibration tools, not repair tools.
Adjust travel limits when: The door doesn’t close fully on a new installation, the door reverses after touching the floor, or the door stops with a gap at the top or bottom. These are positioning issues, and adjusting the limit resolves them.
Adjust force settings when: The door reverses midway because it’s encountering resistance (up-force too low), or the door coasts too far after hitting the floor (down-force too high). These are fine-tuning adjustments within a narrow range.
Stop adjusting and call a professional when: The door needed a force increase to close at all, or you’ve turned the force screw past three-quarters of its range. That means the mechanical system – springs, rollers, cables – is failing, and the opener is compensating. In Redlands, where temperatures swing from freezing winter mornings to 110-degree summer afternoons, metal components expand and contract noticeably. A door that needs force adjustments seasonally has an underlying mechanical issue, not a calibration issue.
On LiftMaster and Chamberlain units with LCD displays, the force settings are digital – you’ll see numbers like 3, 5, or 7. On older Genie and Craftsman units, they’re physical screws on the back or side of the motor housing. Either way, the principle holds: if you’re adjusting force more than once a year, something mechanical is wearing out.
The Manual Balance Test: Checking Springs Before They Fail
The best time to discover a failing spring is before it breaks. The manual balance test takes about three minutes and tells you everything you need to know about the health of your spring system. Here’s how to do it on a door that has an opener attached.
- Disengage the opener. Pull the red emergency release handle hanging from the rail. The door should now move freely by hand.
- Lift the door to waist height. With the door halfway open, release it completely. Do not guide it down.
- Observe what happens. A properly balanced door stays roughly where you left it, maybe drifting an inch or two. A door with a weak spring will sag noticeably or fall. A door with too much spring tension will rise on its own.
- Test at two more positions. Repeat at quarter-open and three-quarters-open. The spring should hold the door at every position, not just in the middle.
- Re-engage the opener. Pull the release handle again and run the opener until it reconnects to the carriage.
What the results mean:
- Door stays at every position: Spring tension is correct. No action needed.
- Door sags only at the bottom position: Spring is losing tension evenly. Plan for replacement within 6-12 months.
- Door is heavy everywhere: Spring has failed completely or is at end of life. Replace immediately – the opener is now doing all the lifting and will strip its drive gear within weeks.
- Door rises at the top position: Over-tensioned spring. This is rare but happens after a DIY spring replacement. Over-tensioned springs wear out faster and can cause the door to fly open.
We see doors in Redlands with springs that have been “working fine” for 15 years. Torsion springs typically last 10,000 cycles – that’s about 7-10 years of normal use. If your door was installed when your house was built and you’ve never replaced the springs, you’re on borrowed time. The balance test tells you how much is left.
Photo-Eye Problems: The Most Misdiagnosed Symptom in Garage Doors
The photo-eye sensors sit about six inches off the ground on each side of the door opening. Their job is simple: if anything crosses the invisible beam between them, the door won’t close. When they fail, the door reverses every time you try to close it – and most homeowners spend an hour adjusting the wrong thing before they check the eyes.
Here’s the diagnostic sequence we walk through on Redlands service calls:
- Check the LED indicators. Each sensor has a small LED. If one is solid and the other is blinking, the sensors are misaligned. If both are off, you have a wiring problem.
- Clean the lenses. A dry microfiber cloth removes dust, spider webs, and the fine Redlands dust that settles on outside-facing garage components. Do this before any alignment adjustment.
- Check the alignment. The sensors need to point directly at each other. Bumping a sensor with a garbage can or lawn equipment knocks them out of alignment easily.
- Look for sun interference. In Redlands, late-afternoon sun streaming directly into the receiver sensor confuses the beam. If the door only reverses in the late afternoon, this is why. A simple sun shield – a small piece of cardboard or PVC tube around the receiver – fixes it permanently.
- Check the wiring. The low-voltage wires running from the sensors to the opener can be chewed by rodents or damaged by door movement. On Genie systems, the wire colors are polarity-sensitive; swapped wires cause the exact symptom of a misaligned beam.
One more Redlands-specific pattern: newer homes in the hills with south-facing garages get direct afternoon sun for more hours than older homes downtown. If your door reverses most often between 3 and 6 PM in the summer, sun interference is the likely culprit, and no amount of force adjustment will fix it.
Noisy Operation: Rollers, Tracks, and What Grinding Actually Means
Garage doors make noise. Some of it is normal. But there’s a specific quality to the sounds that signal real problems, and knowing the difference saves you from a seized roller turning into a bent track turning into a $700 repair.
Normal sounds: A low rumble as the door travels, the soft click of the opener’s relay, and a gentle thump when the door seats at the bottom. These are fine.
Warning sounds:
- Squealing or high-pitched whine: Dry or worn roller bearings. Nylon rollers eventually wear through their bearing surface. Steel rollers on older Raynor and Wayne Dalton doors are especially prone to this after years of service.
- Grinding or gravel-in-a-gearbox sound: A seized roller sliding along the track instead of rolling. The roller is no longer spinning; it’s dragging metal on metal. This is urgent – the track is being damaged every cycle.
- Rattling during travel: Loose hardware. The nuts and bolts holding the track brackets to the wall and the hinges to the door sections work loose over time. On doors that open and close 1,500 times a year, that’s thousands of vibration cycles annually.
- Popping or binding at specific points: A bent track section. The door is hitting a tight spot each time it passes. You can sometimes see the gap between the roller and the track narrow at the bend point.
Redlands’ dry climate means less rust than coastal areas, but dust is the bigger enemy. Fine dust works into roller bearings and dries out the lubrication. If you’re lubricating your rollers quarterly, use a white lithium grease on metal parts and a silicone spray on nylon. Avoid WD-40 – it’s a solvent, not a lubricant, and it actually strips the protective coating from metal components.
Redlands Climate and Your Garage Door: What the Heat and Santa Ana Winds Do
Your garage door lives outside, and in Redlands, “outside” means specific conditions that accelerate certain failures. We see patterns across Redlands garages that we don’t see in coastal cities, and they come down to three factors: heat, wind, and dust.
Heat: Summer temperatures above 100 degrees expand metal components. A door that’s perfectly balanced in January can bind in August because the metal track, hinges, and door sections have all expanded. Expansion is uniform in theory, but older installations with marginal clearances will show the tight spots first. We see more track-binding calls in Redlands between July and September than any other time of year.
Santa Ana winds: Sustained wind against a closed garage door creates constant pressure on the springs and cables. Doors that sit through multiple Santa Ana events each year show accelerated cable wear, especially on the windward side. If your garage faces northeast – the direction Santa Anas typically come from in Redlands – your cables are working harder than a neighbor’s south-facing garage.
Dust and debris: Redlands sits at the base of the San Bernardino Mountains, and the dry foothill air carries fine particulate. That dust settles on photo-eye lenses, works into roller bearings, and accumulates on the logic board inside the opener housing. A sticky residue builds up over time that conducts moisture and shorts low-voltage circuits. We recommend cleaning photo-eye lenses monthly during the dry season and checking the inside of the opener housing for dust accumulation every six months.
None of these factors require dramatic action – but they do require awareness. A Redlands door on a northeast-facing garage with original springs and steel rollers needs inspection sooner than the national average lifespan tables suggest.
Common Mistakes to Avoid
- Lubricating the track. The rollers ride inside the track, but the track itself should stay dry. Grease on the track attracts dust and creates a paste that accelerates roller wear. Lubricate the roller bearings and hinges, never the track surface.
- Adjusting force before checking the photo-eyes. We covered this, but it bears repeating: the reversing-door symptom has two causes, and the more common one costs nothing to check. Force adjustments are for fine-tuning after everything mechanical is confirmed healthy.
- Replacing one spring instead of both. Torsion springs wear at the same rate. If one broke, the other is at the end of its cycle life. Replacing only the broken spring means you’ll be back in six months – and paying for labor twice.
- Using the wrong lubricant. WD-40, penetrating oil, and cooking spray all seem like they should work. They don’t. White lithium grease for metal parts, silicone spray for nylon. That’s the whole list.
- Continuing to operate a door with a broken spring. Every cycle on a broken spring puts the entire lifting load on the opener’s drive gear. A $30 gear strip becomes a $200 repair on top of the spring replacement you needed anyway.
- Ignoring slow, gradual changes. A door that’s slightly slower, slightly louder, slightly off-balance is sending you signals. The most common thing we hear on Redlands service calls is “it just suddenly broke” – but when we inspect, the wear patterns show months of warning signs.
- Buying generic replacement parts. A universal spring or generic roller may fit, but it won’t match the cycle rating, gauge, or bearing quality of the original. On LiftMaster, Chamberlain, Genie, and Craftsman openers specifically, brand-specific parts exist for a reason: the tolerances are different.
When to Call a Professional
Some jobs are owner-serviceable: cleaning photo-eyes, clearing an obstruction, lubricating rollers, tightening visible hardware. Others are not. Call a professional when you have a broken torsion spring, a snapped cable, a bent track, a stripped drive gear, or any electrical fault inside the opener housing. The springs alone carry enough stored energy to cause serious injury – this is not a judgment call, it’s a hard line. Garage Door Repair in Redlands offers free estimates throughout the city, and we carry brand-specific parts for LiftMaster, Chamberlain, Genie, and Craftsman systems on our trucks. If the door won’t open or close safely, call (833) 589-9897 – we’ll get it diagnosed quickly and quote the repair before any work starts.
Frequently Asked Questions
A typical garage door repair in Redlands runs $125 to $350 for most mechanical fixes – rollers, cables, hinges, photo-eye alignment, and travel limit adjustments. Spring replacement typically falls between $250 and $450 depending on the spring size and whether you’re replacing one or both. Opener logic board replacements can push past $300. Every quote we provide is agreed upon before work begins, so there are no surprises. Call (833) 589-9897 for an exact quote – estimates are free.
Yes. Most repair calls in Redlands receive same-day service when they’re placed before early afternoon, and we carry the most common replacement parts – springs, cables, rollers, logic boards – on our trucks so the fix usually happens in one visit. Garage door opener repair in Redlands follows the same model: brand-specific parts on the truck, not ordered from a warehouse after you’ve already waited a week. Call (833) 589-9897 and tell us what you’re seeing – we’ll tell you over the phone whether it’s something we can fix today.
The two most common causes are dirty or misaligned photo-eye sensors (about 60% of cases) and low down-force settings (about 40%). Clean both sensor lenses with a dry cloth, check that the LEDs are solid, and make sure nothing is crossing the beam path. If the door still reverses, test the balance manually before adjusting any opener settings. In Redlands, afternoon sun hitting the sensors directly can also trigger false reversals – a small sun shield around the receiver fixes this permanently.
Standard torsion springs are rated for 10,000 cycles, which works out to roughly 7-10 years of normal use for a Redlands household that opens and closes the door three to four times daily. Higher-cycle springs rated for 20,000 to 30,000 cycles last proportionally longer. You can check your spring’s remaining life with the manual balance test described above – a door that sags at any position has springs that are on their way out.
Yes. We work on all four major opener brands: LiftMaster, Chamberlain, Genie, and Craftsman. Your LiftMaster system – we know it. On the door side, we service Garage Door Installation in Redlands across Clopay, Amarr, Wayne Dalton, and Raynor. Brand-specific parts, not generic substitutes. Eight brands. One call.
No. The quote we give you before starting work is the price you pay. We diagnose the problem, explain what needs to be fixed and why, and confirm the total cost before any repair begins. If we find something unexpected, we stop and call you first. No invoice surprises, no padding, no “while we’re in there” add-ons.
The Bottom Line
Garage door troubleshooting comes down to one principle: the symptom is not the cause. A reversing door is usually a photo-eye issue, not a force problem. A loud bang could be a spring or a cable, and the visual check takes 30 seconds. A noisy door is almost always rollers, not the opener. When you match the pattern to the component, you stop guessing – and you stop paying for repairs that don’t fix anything. The balance test, the lens check, and the error-code decode are the three tools that cover most garage door problems without touching a tool. When the issue goes beyond what those tools can diagnose, you’re dealing with a job that needs parts and training – and that’s what Garage Door Repair Redlands home is here for. We work on what you already have.
Written by the team at Garage Door Repair Redlands, serving Redlands since 2018. Explore more guides & resources on our blog.
See the difference
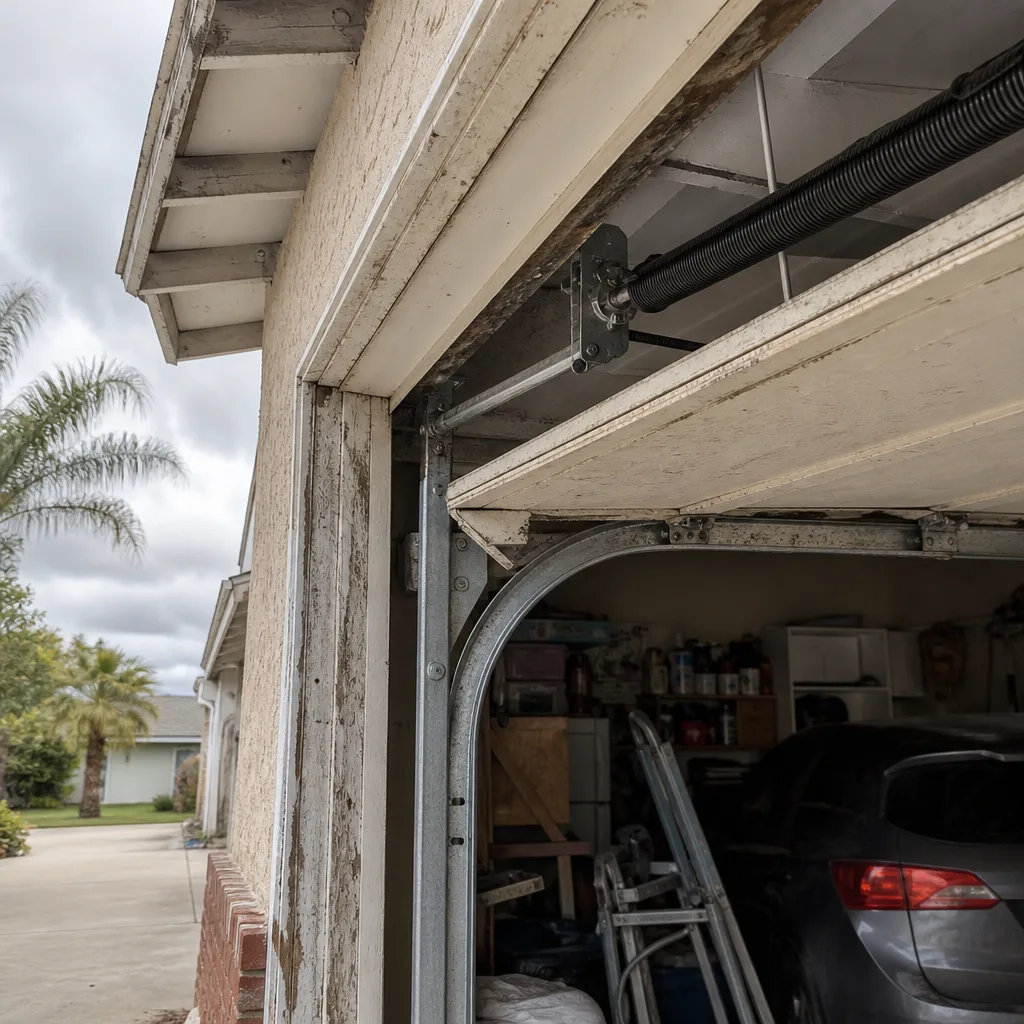 Before
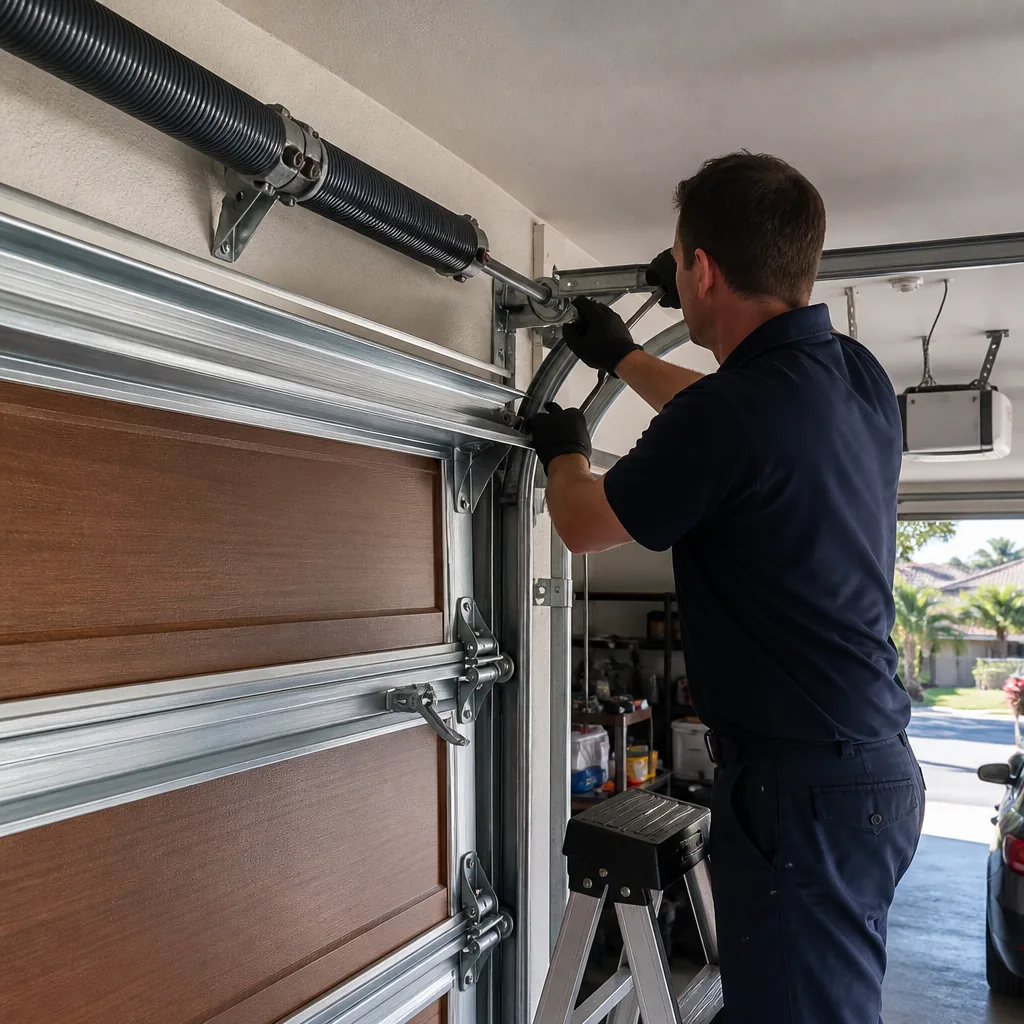 After
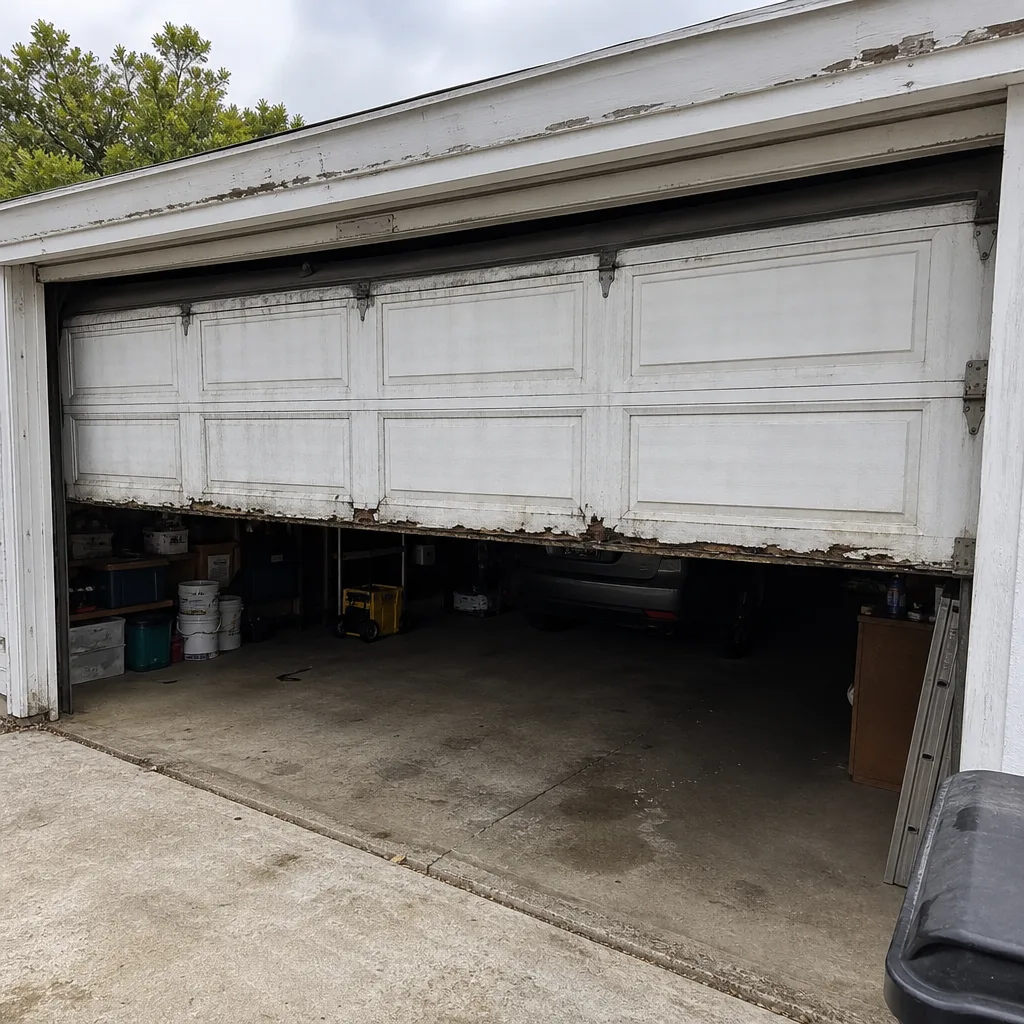 Before
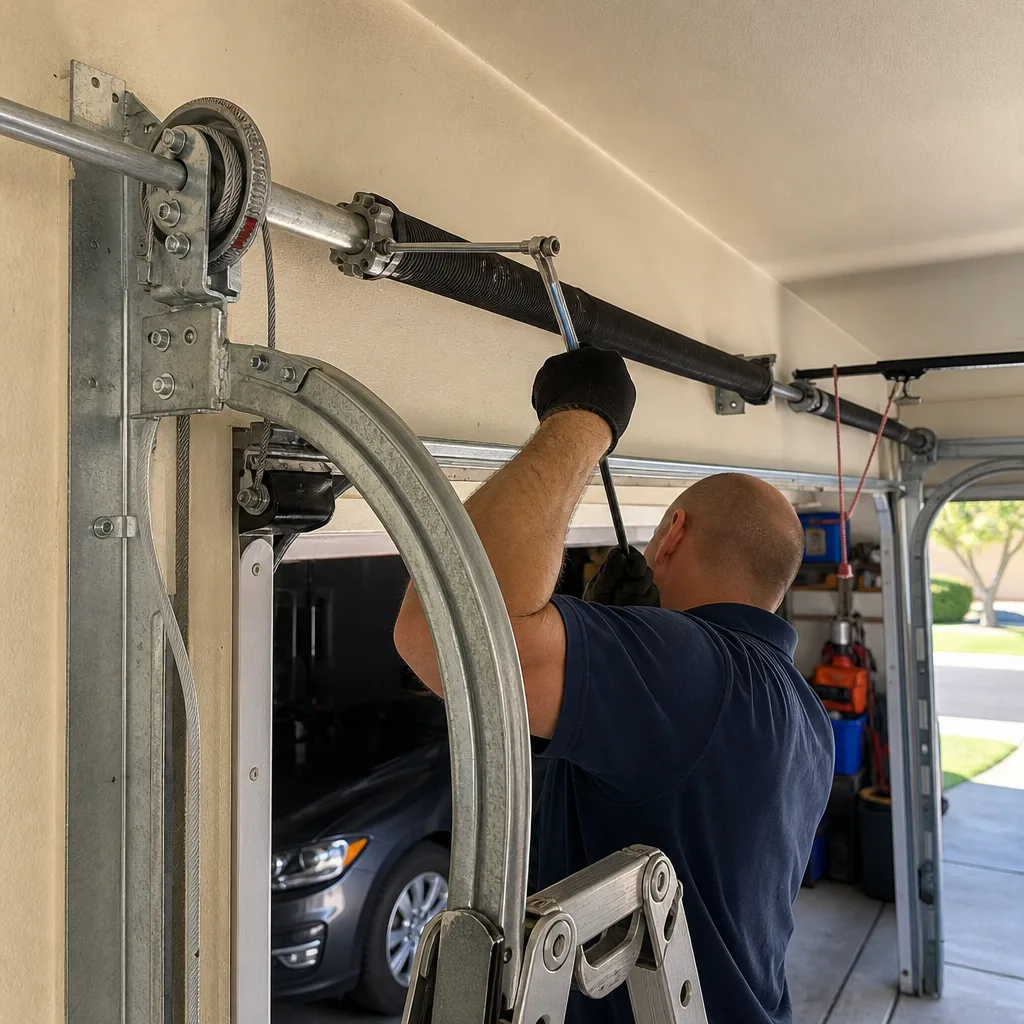 After
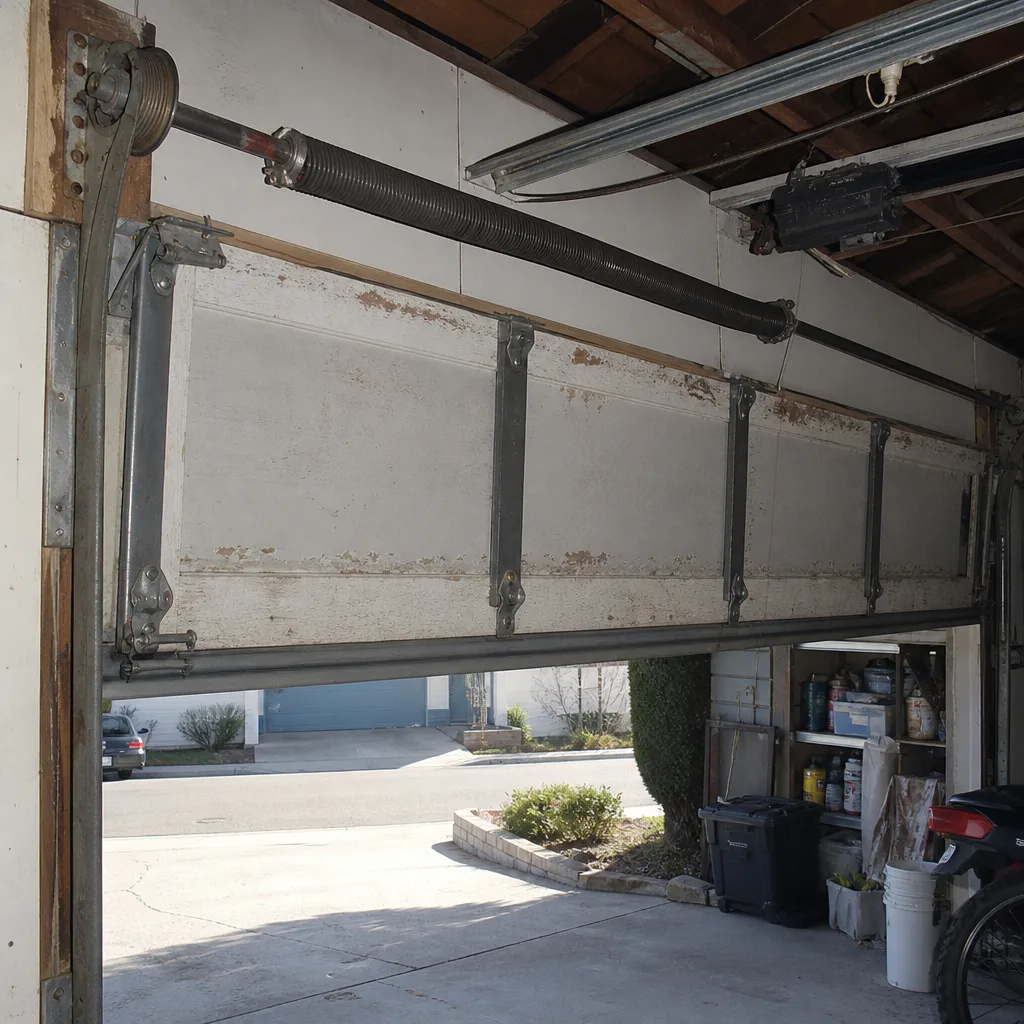 Before
 After